Sale Workspace
Overview
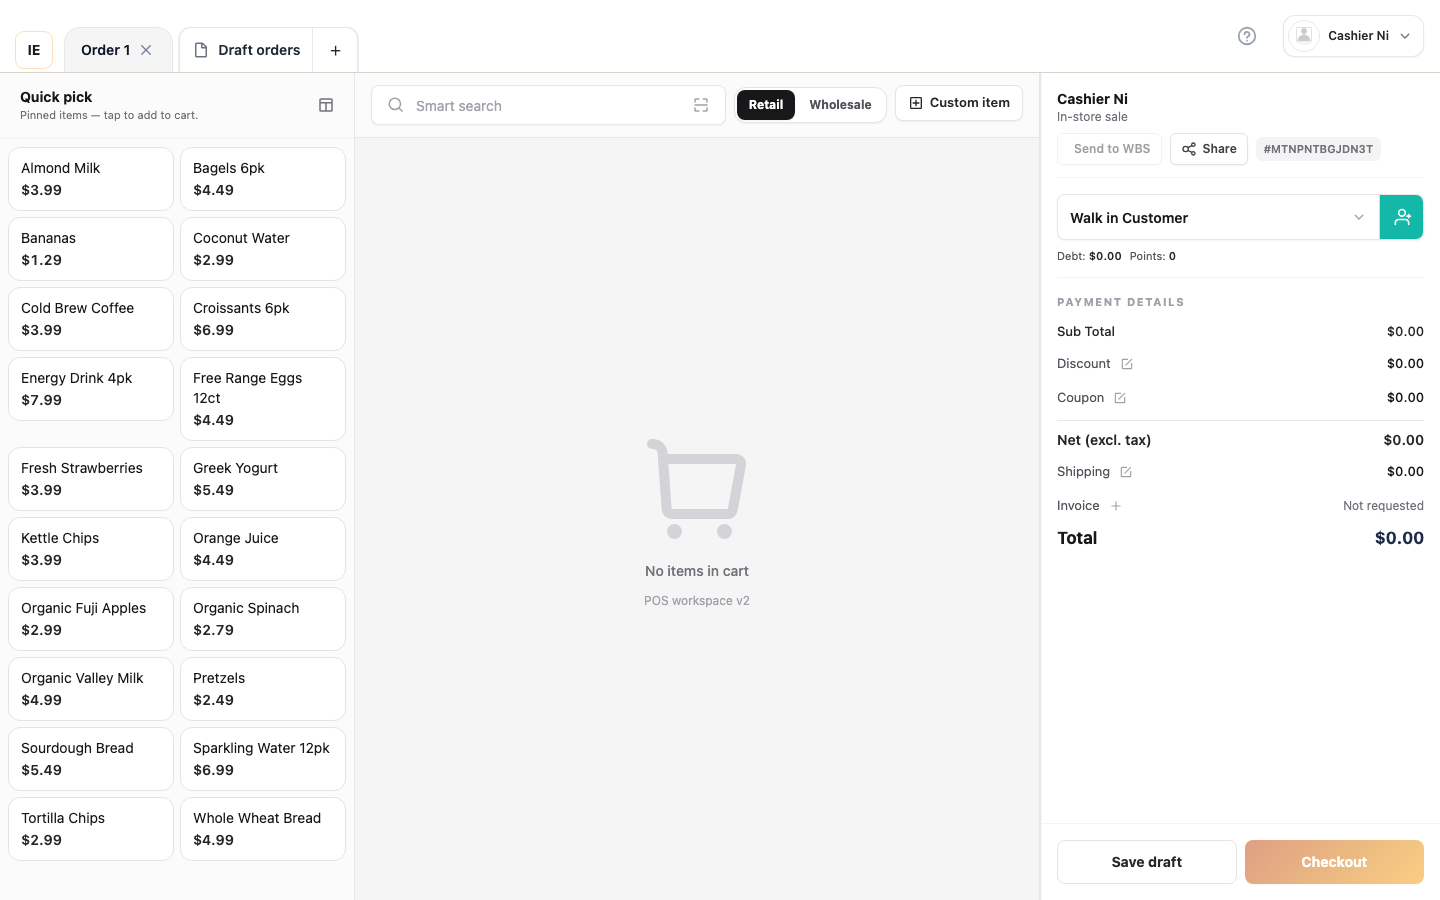
Section titled “Overview”The Sale workspace (/point-of-sale/sale) is the primary interface for processing sales. It combines:
- Product catalog (left panel) — browse and search items
- Cart (right panel) — review, adjust quantities, apply discounts
- Checkout modal — payment processing and receipt
I. 5-step checkout flow (KiotViet style)
Section titled “I. 5-step checkout flow (KiotViet style)”This section walks through the end-to-end sale in the order a cashier experiences it. Each step links to the corresponding screen and embeds the matching screenshot.
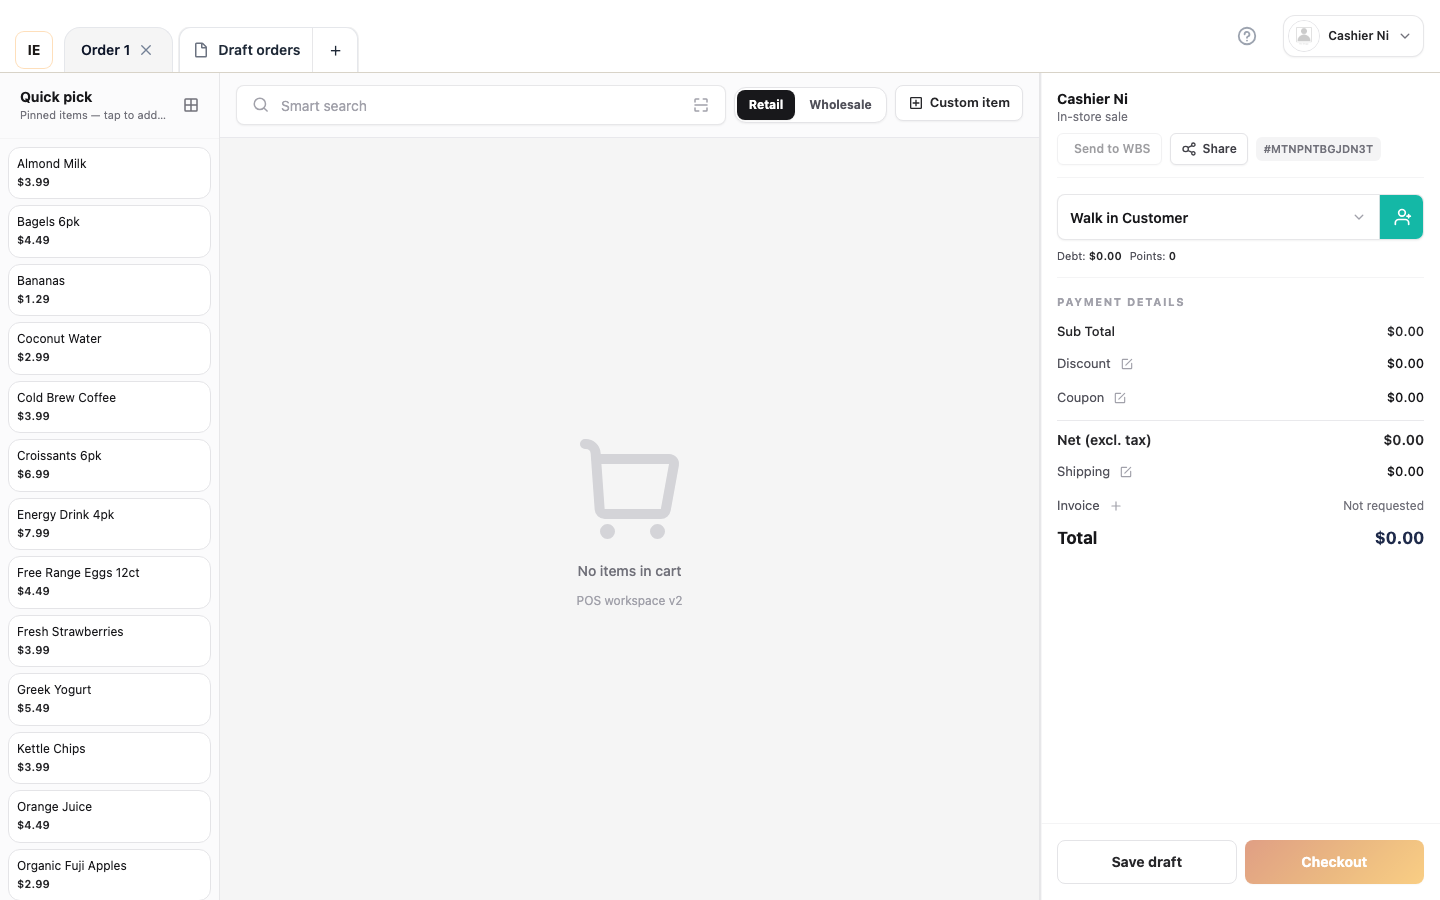
Step 1 — Open the Sale workspace and select store/lane
Section titled “Step 1 — Open the Sale workspace and select store/lane”Situation: You are signed in and ready to start a new sale.
Steps:
- From the left rail, click Sale (or navigate to
/point-of-sale/sale). - If your store has more than one checkout lane, pick a lane from the top-bar selector. The lane binds this sale to a specific shift, drawer, and printer.
- Confirm the store chip in the top bar shows the right location (price list and catalog depend on it).
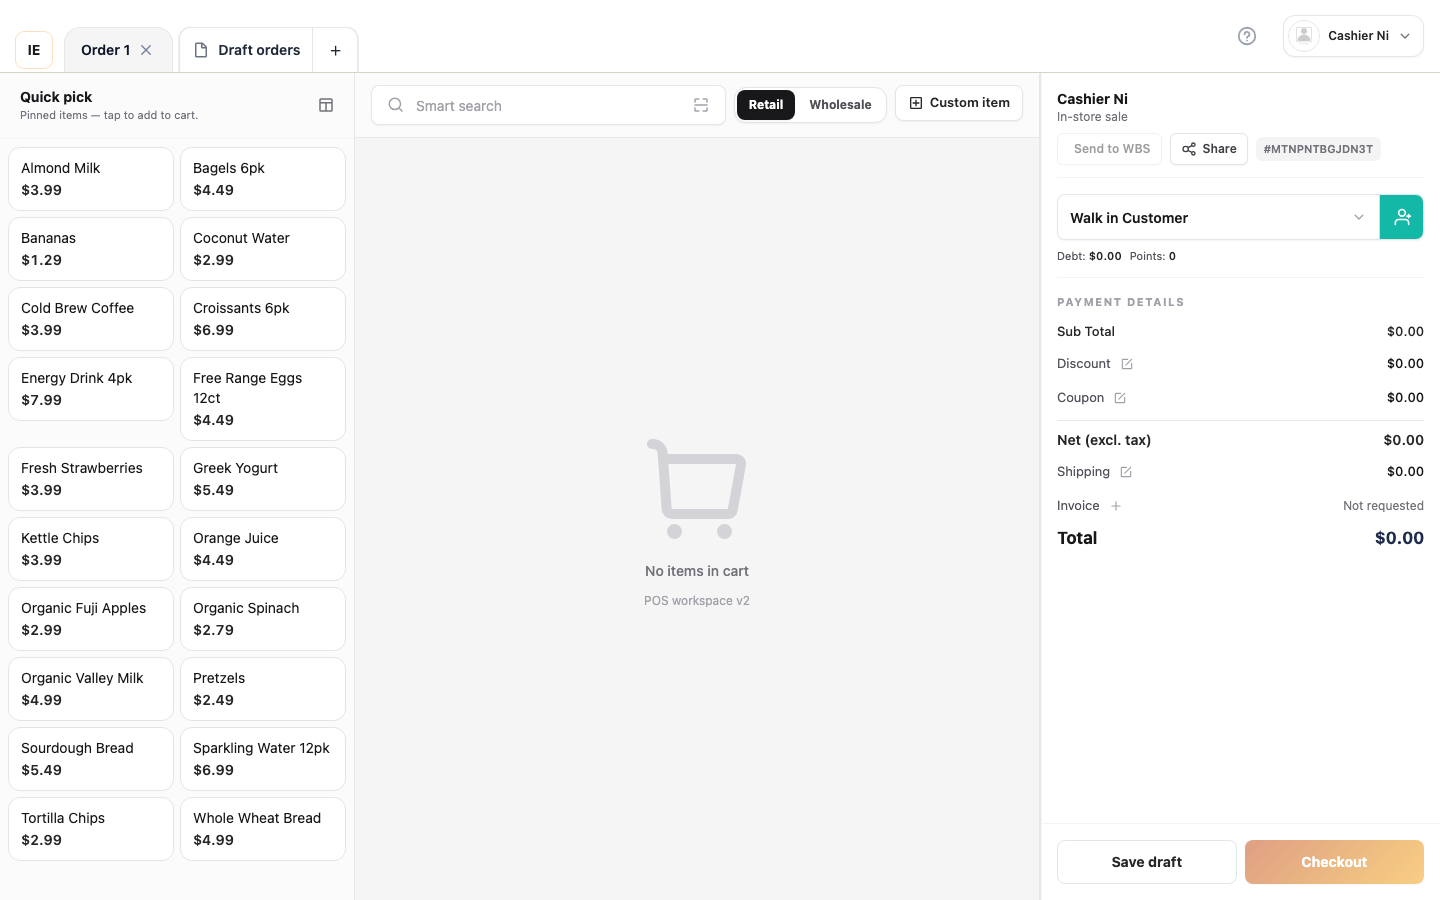
- The empty cart view appears on the right; the catalog on the left is ready for input.
Tip: Multi-lane stores show a
pos.laneRequiredBannerif you try to add items before picking a lane — pick the lane first, then continue.
Step 2 — Add products to the cart
Section titled “Step 2 — Add products to the cart”Situation: The customer tells you what they want to buy. You need to build the cart quickly.
Steps:
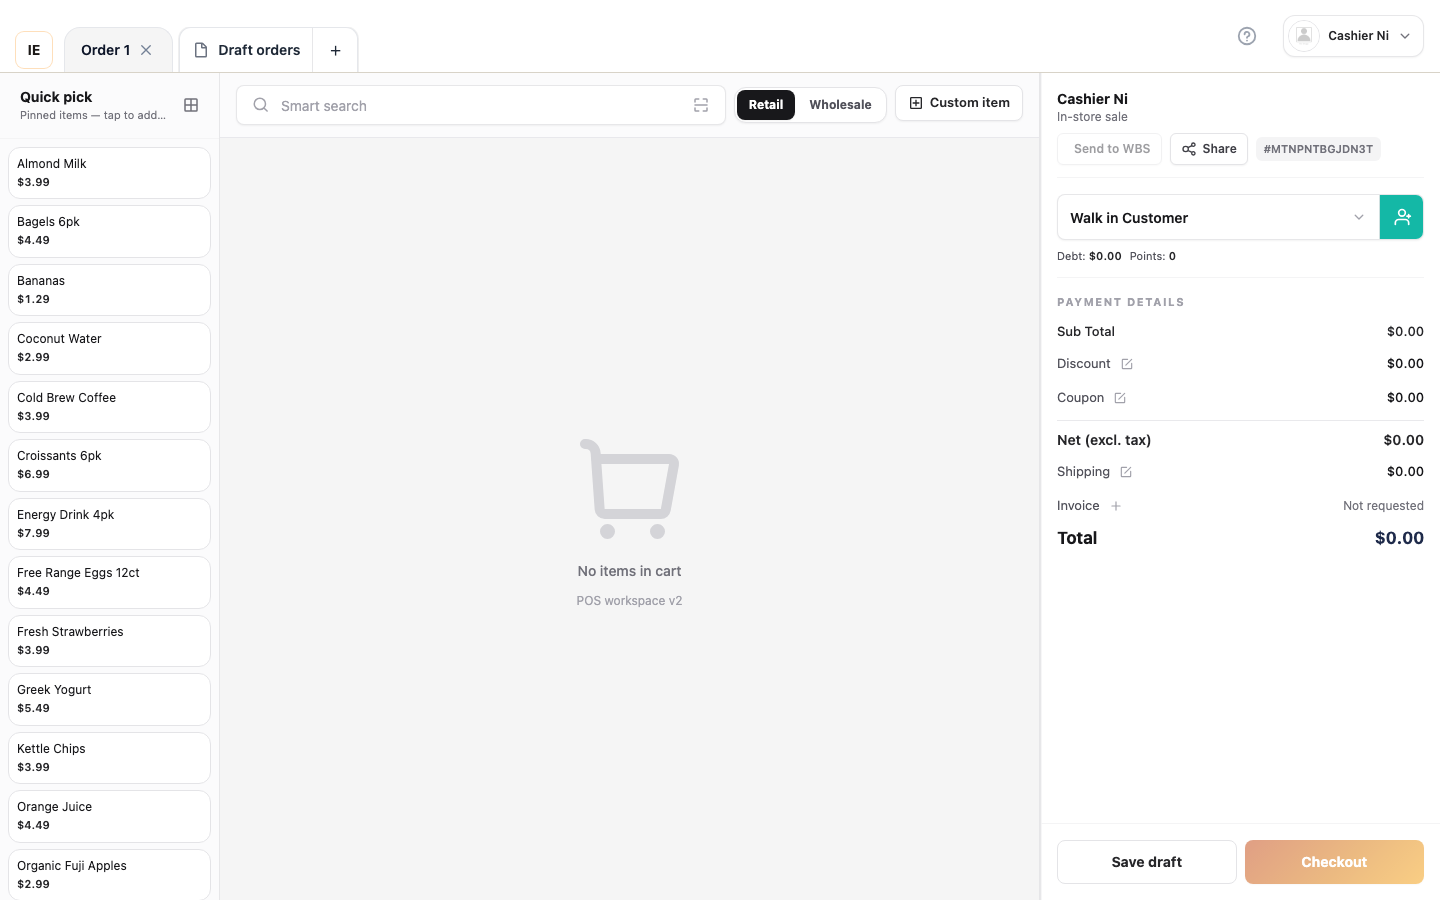
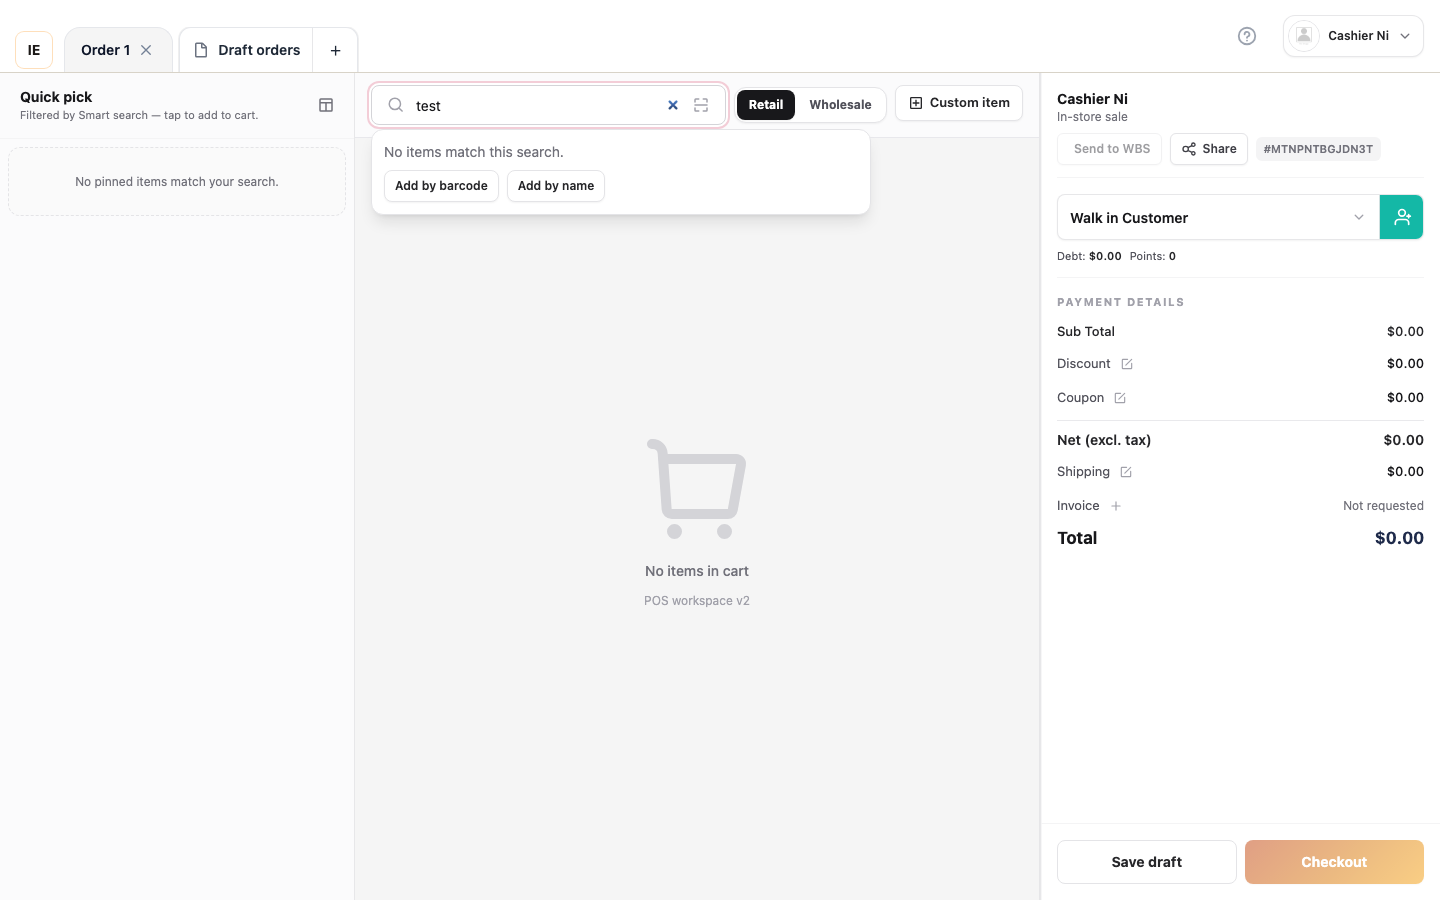
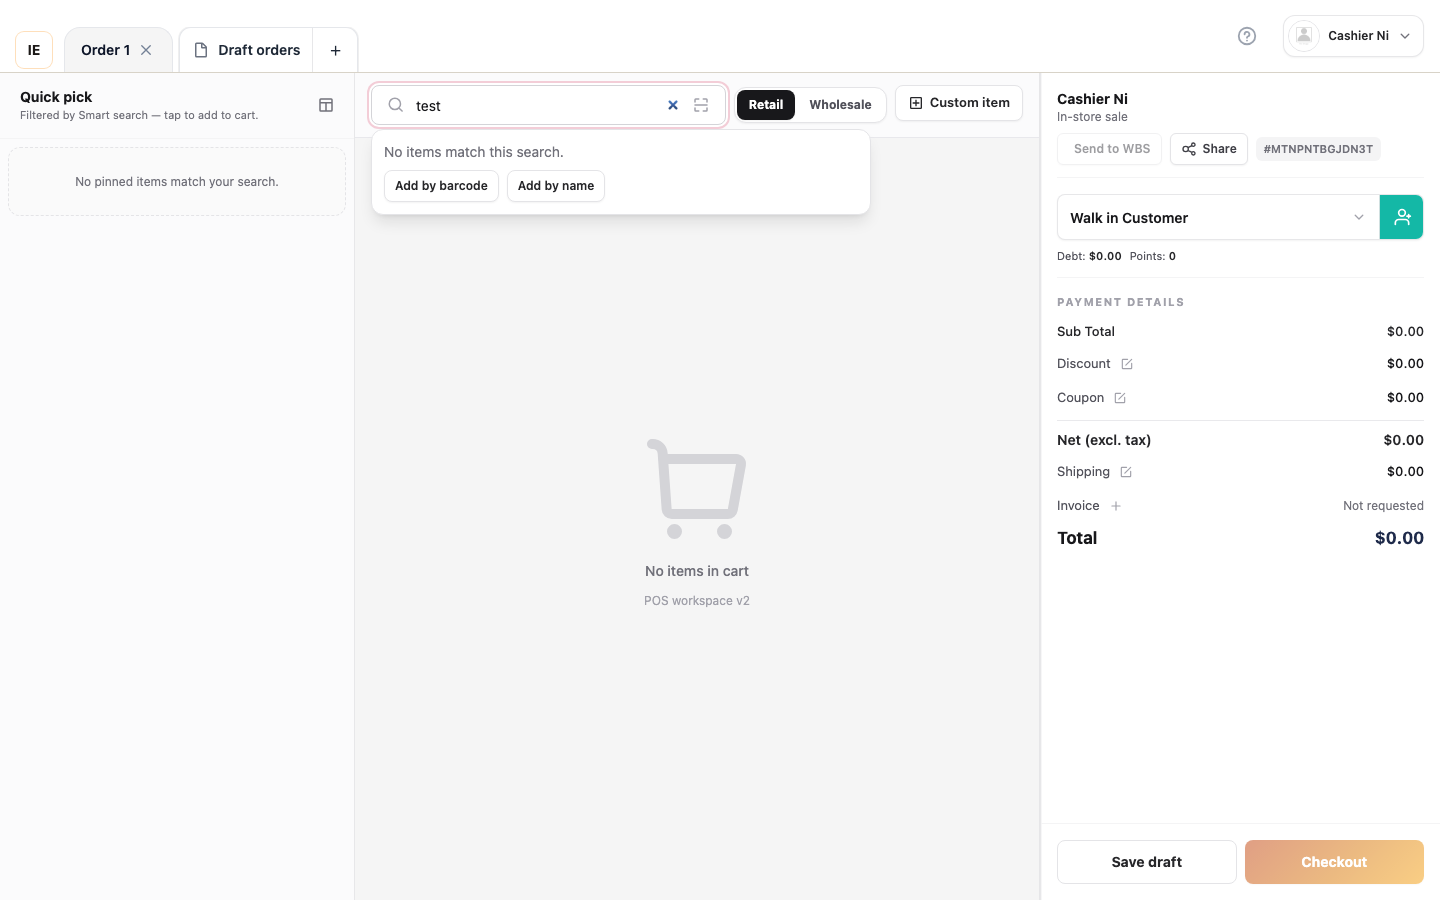
- Search (top-bar): type product name, SKU, or barcode; press Enter
or wait for debounce. Shortcut
/focuses the search box. - Scan a barcode (USB / camera / keyboard wedge) — the matching product is added automatically; quantity is +1 per scan.
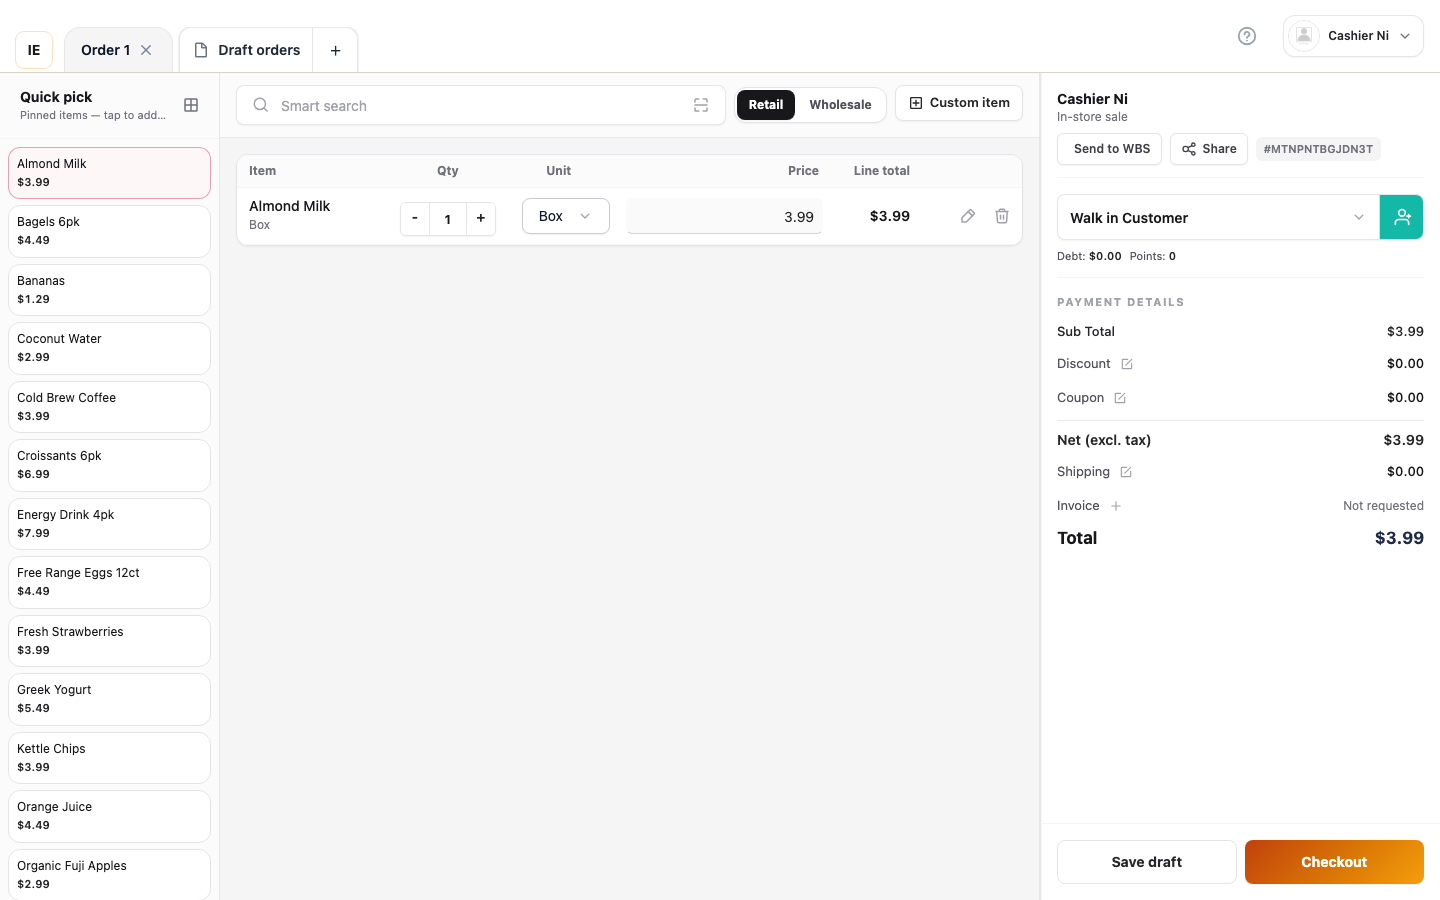
- Tap a product tile in the catalog grid to add it.
- Quick pick (horizontal tiles above the grid) — the most-sold or pinned items, one tap to add.
- Long-press a tile to pin or unpin it from the quick-pick row.
- Adjust quantity with the + / − stepper on the cart line, or type the value directly.
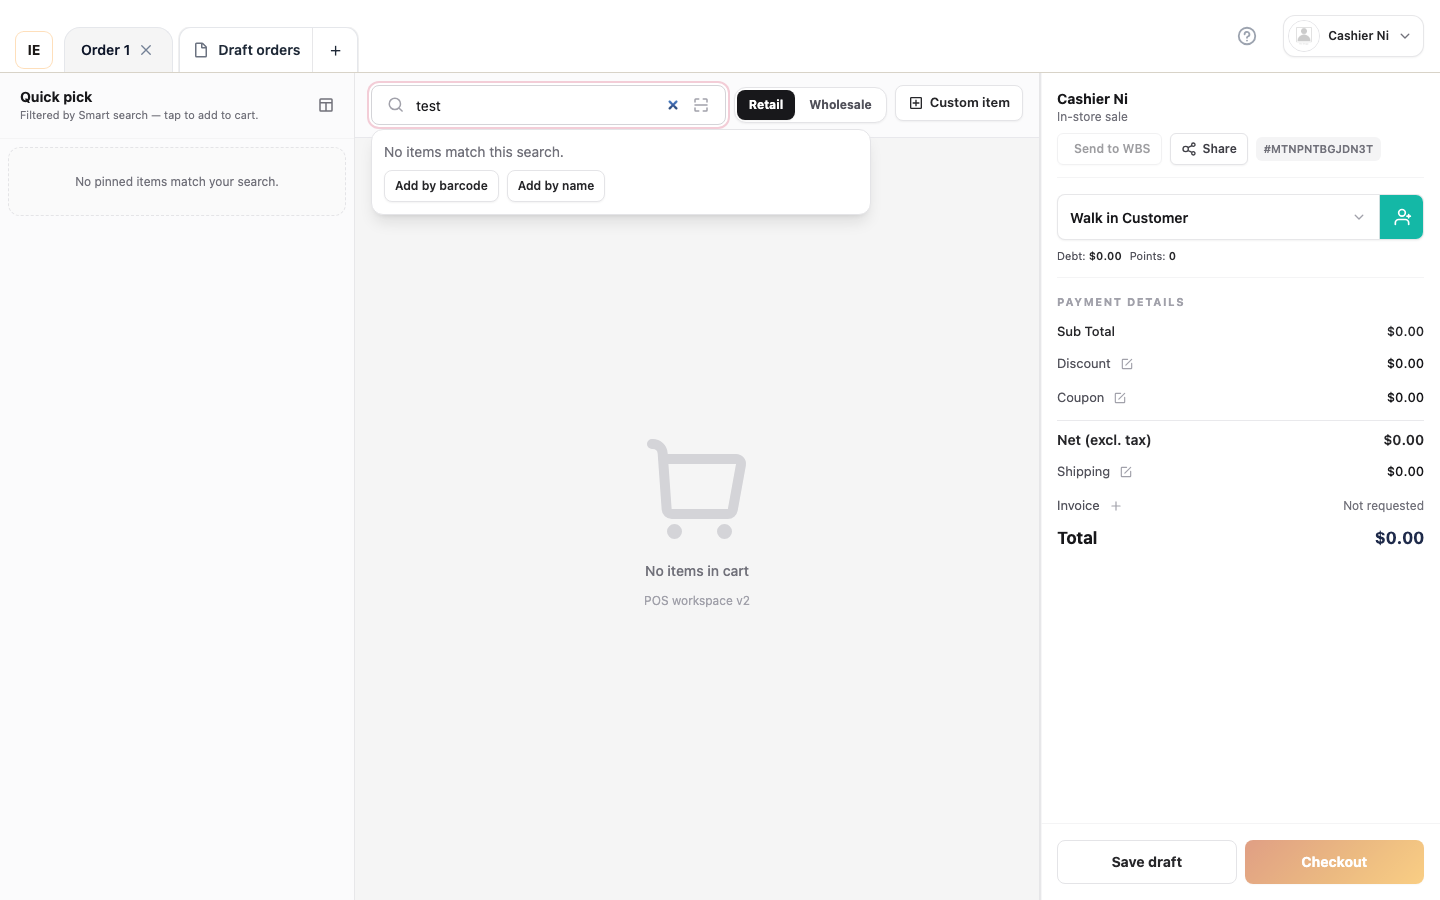
Tip: The system creates a separate cart line per pricing channel (Retail vs Wholesale). Switching channels after adding a product leaves the original line at its channel price — see Retail vs Wholesale Pricing.
Step 3 — Attach a customer (optional but recommended)
Section titled “Step 3 — Attach a customer (optional but recommended)”Situation: You want to apply a membership discount, earn loyalty points, or record the sale against a known customer.
Steps:
- Click the Select customer button in the top bar.
- Type the customer’s name, phone, or code in the modal (or scan their loyalty card).
- Click a row to attach the customer; the top-bar chip shows their name and the cart re-computes membership discounts.
- To detach, click the customer chip and choose Clear.
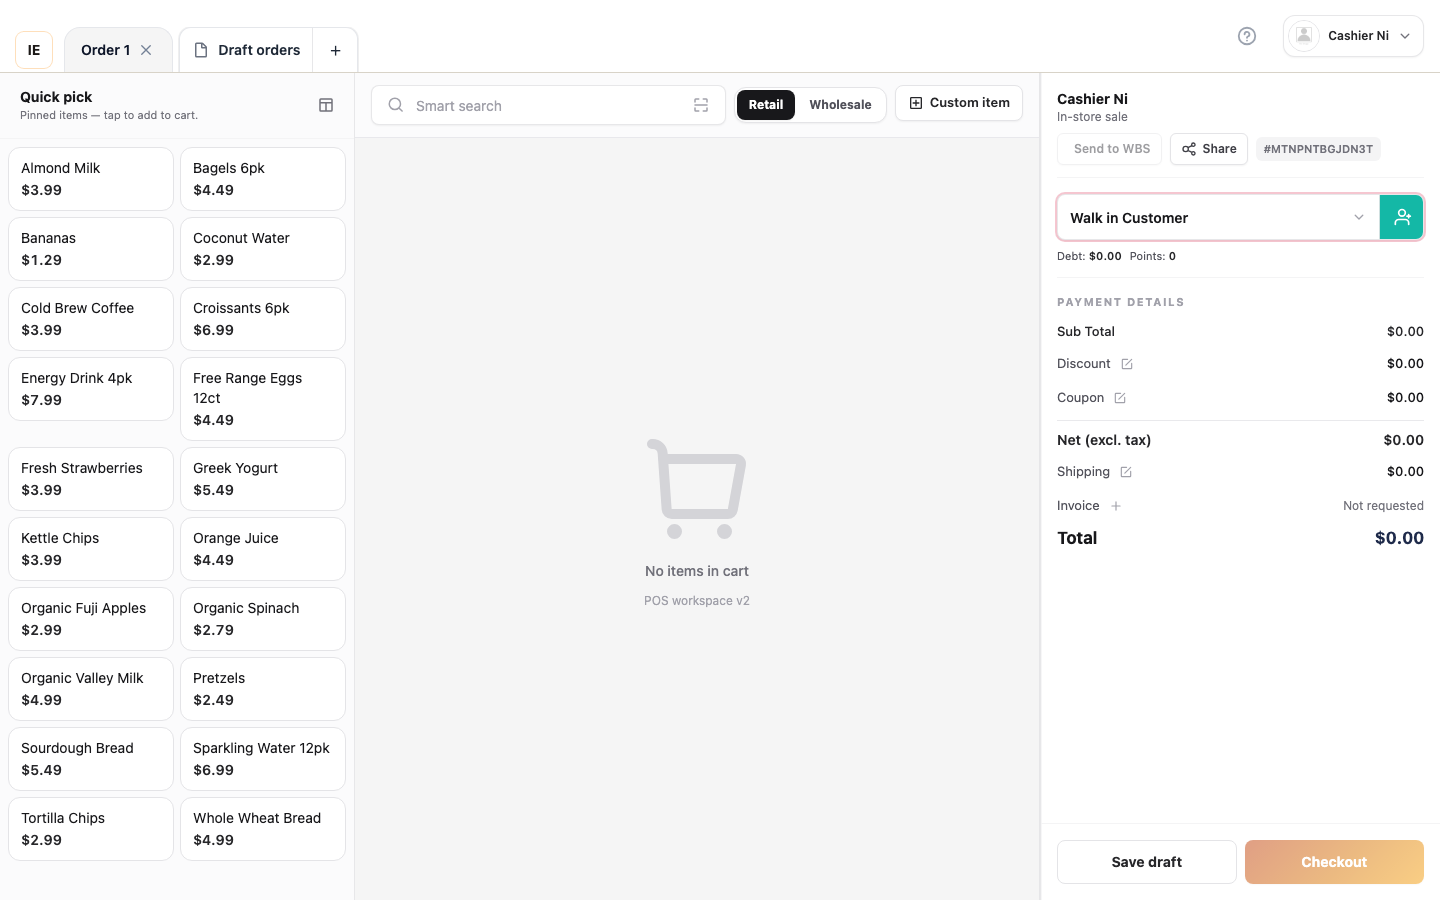
Tip: Press F4 to jump straight to the customer search input from anywhere on the Sale screen.
Step 4 — Apply discounts, coupons, and promotions
Section titled “Step 4 — Apply discounts, coupons, and promotions”Situation: The order qualifies for a promotion, or the cashier needs to apply a manual discount.
Steps:
- Automatic promotions — when a cart meets a Buy-X-Get-Y rule, a
$0.00reward line is added automatically. Look for the Promo or KM badge in the cart. - Item-level discount — click the discount cell on a cart line to enter a percent or amount. This overrides the catalog price for that line only.
- Order-level discount — scroll to the totals section, click the Discount row, choose percent or amount.
- Coupon code — click the Coupon field, type the code (e.g.
SAVE20), press Apply. The system validates expiry, minimum order, and customer eligibility. - Membership discount — applied automatically once a customer with an active tier is attached in Step 3.
Tip: Stacking order is fixed: catalog discount → membership → order discount → coupon → tax. See Discount Stacking Order for the full diagram.
Step 5 — Checkout and print receipt
Section titled “Step 5 — Checkout and print receipt”Situation: The customer is ready to pay.
Steps:
- Click the Pay button at the bottom of the cart panel.
- The payment modal opens with all configured tenders (Cash, Card, Check, Wallet; plus Debt in wholesale mode).
- Pick a tender and follow the per-method flow:
- Cash — type the amount received, the system shows the change.
- Card — click Send to terminal, the customer taps/inserts, wait for the green success indicator.
- Check / Wallet / Debt — fill the requested reference fields and confirm.
- Review the order summary (lines, tax, totals). Add invoice details (tax ID, company, email) if a VAT receipt is required.
- Click Place order. The success screen shows the order number and the receipt prints automatically (or to the configured printer).
- From the success screen, click New sale to start the next order or Print receipt to reprint.
Tip: A failed terminal connection shows a red indicator — keep the modal open, fix the terminal in Card Terminal settings, then retry without re-creating the cart.
Layout
Section titled “Layout”┌─────────────────────────────────────────────────────────────┐│ Top bar: Store | Lane | Search | Customer | Quick actions │├─────────────────────────┬───────────────────────────────────┤│ │ ││ Catalog panel │ Cart panel ││ - Quick pick tiles │ - Line items ││ - Category tabs │ - Quantities ││ - Product grid │ - Subtotal / Tax ││ - Search results │ - Totals ││ │ - Pay button ││ │ │└─────────────────────────┴───────────────────────────────────┘Top toolbar
Section titled “Top toolbar”Store & Lane selectors
Section titled “Store & Lane selectors”- Store: Required, determines catalog and prices
- Lane: Required for multi-lane stores with shift tracking
Product search
Section titled “Product search”- Search bar: Type product name, SKU, or barcode (press Enter or wait for debounce)
- Search mode toggle: Toggle between “Product name/SKU” and “Barcode only”
- Keyboard shortcut: Press
/to focus search
Customer selector
Section titled “Customer selector”- Button: “Select customer” (or shows selected customer name)
- Opens: Customer search modal
- Linked customer appears in cart with loyalty points, membership discounts
Quick actions
Section titled “Quick actions”- Pinned items (star icon) — Access frequently sold products
- Quick add (plus icon) — Create custom line or ad-hoc product
- Menu (three dots) — Additional options
Catalog panel (left)
Section titled “Catalog panel (left)”Quick pick section
Section titled “Quick pick section”- Horizontal scrollable row of product tiles
- Shows recently sold or pinned items
- Tap to add to cart
- Long-press tile to pin/unpin
Category tabs
Section titled “Category tabs”- Horizontal tabs showing product categories
- “All” tab shows entire catalog
- Uncategorized items appear in “(No category)”
- Active tab highlights in accent color
Product grid
Section titled “Product grid”- 2-4 columns depending on screen width
- Each tile shows:
- Product image (or placeholder)
- Product name
- Price (base unit price)
- Stock indicator (if low/out of stock)
- Tap product to add to cart
Search results
Section titled “Search results”When search is active:
- Grid shows matching products only
- Clear search to return to category view
Retail vs Wholesale Pricing
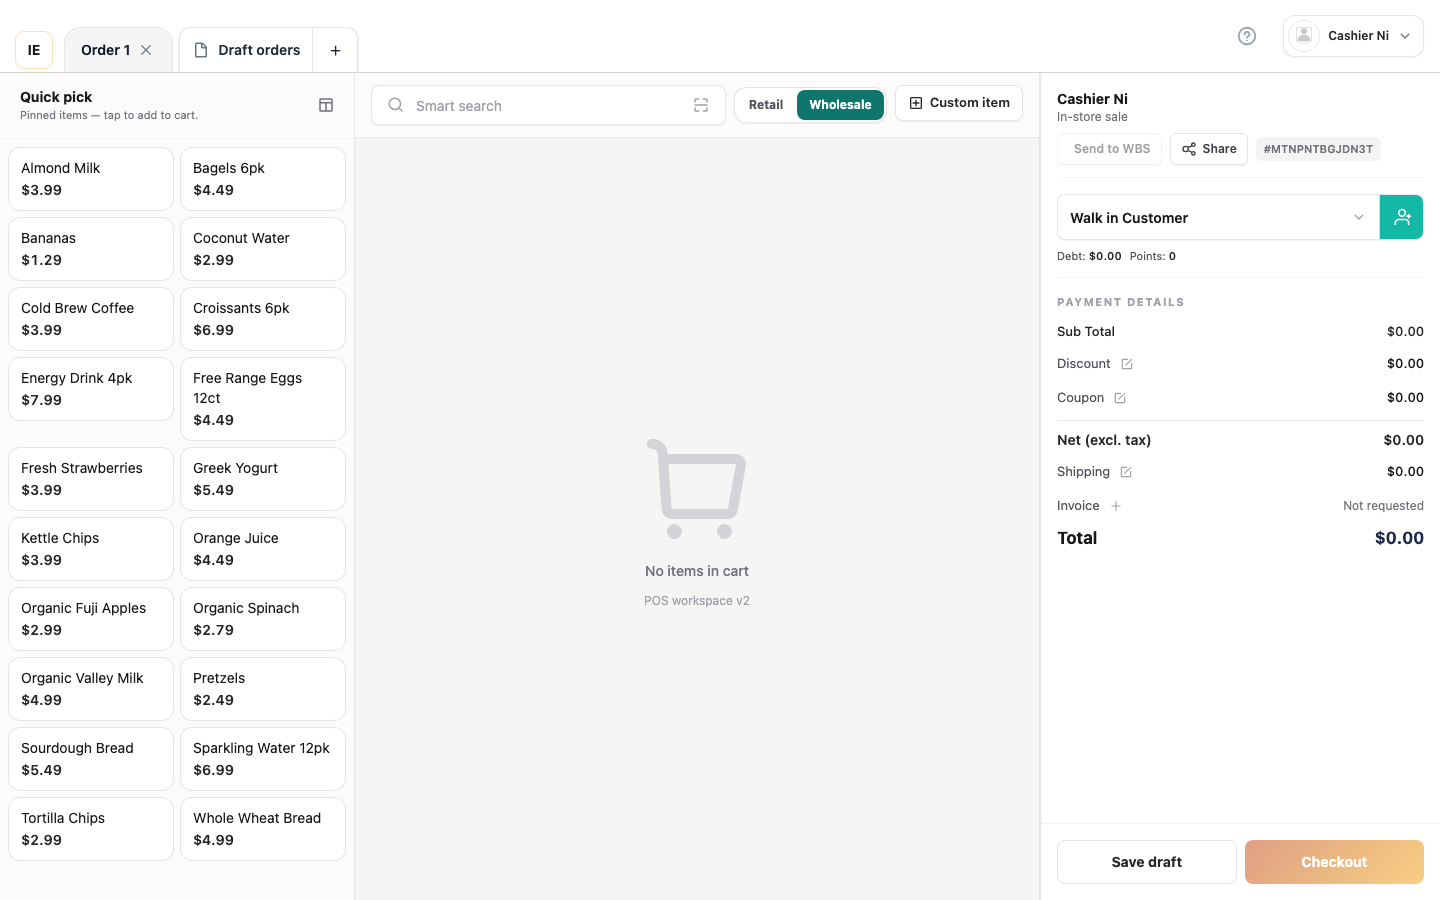
Section titled “Retail vs Wholesale Pricing”The Sale Workspace supports two pricing channels that affect how products are priced:
Pricing Channel Toggle
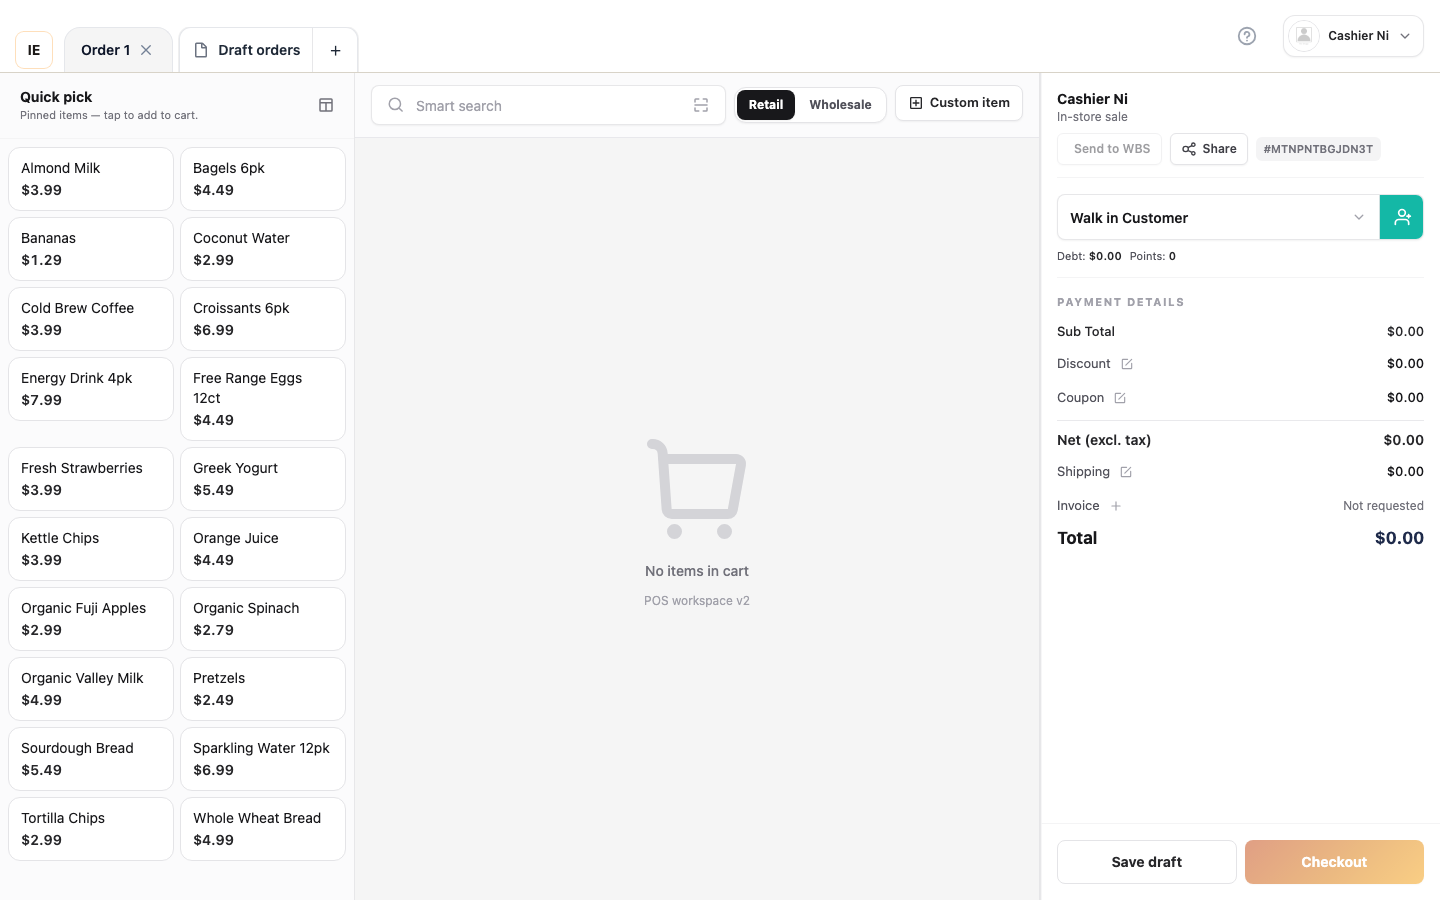
Section titled “Pricing Channel Toggle”Located in the top toolbar (retail POS only):
- Retail button (left) — Uses retail prices from product catalog
- Wholesale button (right) — Uses wholesale prices from product catalog
How It Works
Section titled “How It Works”When you switch channels:
- New cart lines added after switch use the selected channel’s price
- Existing cart lines remain at their original channel price
- Cart can contain mixed lines — some retail, some wholesale
- Wholesale lines show “Sỉ” or “WS” badge in cart
Example scenario:
1. Start in Retail mode2. Add Product A (qty 2) → Uses retail price $10/unit3. Switch to Wholesale4. Add Product A (qty 5) → Creates NEW line with wholesale price $8/unit5. Cart now has TWO separate lines for Product A: - Line 1: 2 units @ $10 (retail) - Line 2: 5 units @ $8 (wholesale)Price Channel Behavior
Section titled “Price Channel Behavior”| Feature | Retail Mode | Wholesale Mode |
|---|---|---|
| Price source | product.retail_price | product.wholesale_price |
| Stock check | Retail stock | Wholesale stock (if separate warehouse) |
| Cart badge | None | “Sỉ” or “WS” |
| Mixing | ✅ Can add wholesale lines | ✅ Can add retail lines |
| Line independence | Each line keeps its original channel | Each line keeps its original channel |
When to Use Each Channel
Section titled “When to Use Each Channel”Retail (Lẻ):
- Walk-in customers
- Single-item purchases
- Standard checkout
- Consumer sales
Wholesale (Sỉ):
- B2B customers
- Bulk orders
- Reseller purchases
- Lower per-unit pricing
Important: If a product has no wholesale price configured, adding it in wholesale mode will:
- Fall back to retail price
- Show warning toast
- Still add to cart (but at retail price)
Price List Override
Section titled “Price List Override”For more advanced pricing, use Price Lists (dropdown next to pricing toggle):
- Catalog price (default) — Uses product’s base retail/wholesale price
- Named price lists — Applies custom pricing rules per customer segment
When price list is active:
- Overrides both retail AND wholesale prices
- Shows selected price list name in toolbar
- Can be combined with pricing channel
Cart panel (right)
Section titled “Cart panel (right)”Cart lines
Section titled “Cart lines”Each line shows:
- Product name (with variant info if applicable)
- Pricing channel badge — “Sỉ” or “WS” for wholesale lines
- Quantity stepper — increment/decrement or type value
- Unit price — editable (if seller override allowed)
- Line total — auto-calculated
- Remove button (trash icon)
Per-unit items (weighted, measured):
- Shows quantity in lb, kg, or custom unit
- Editable quantity field
- Auto-calculates line total
Promotional items:
- Badge: “KM” (Vietnamese) or “Promo” (English)
- Auto-added when promotion conditions met
- Price locked (cannot be edited)
- Displays trigger rule: “Buy 2, get 1 free” etc.
- Automatically removed if trigger items removed from cart
Cart totals
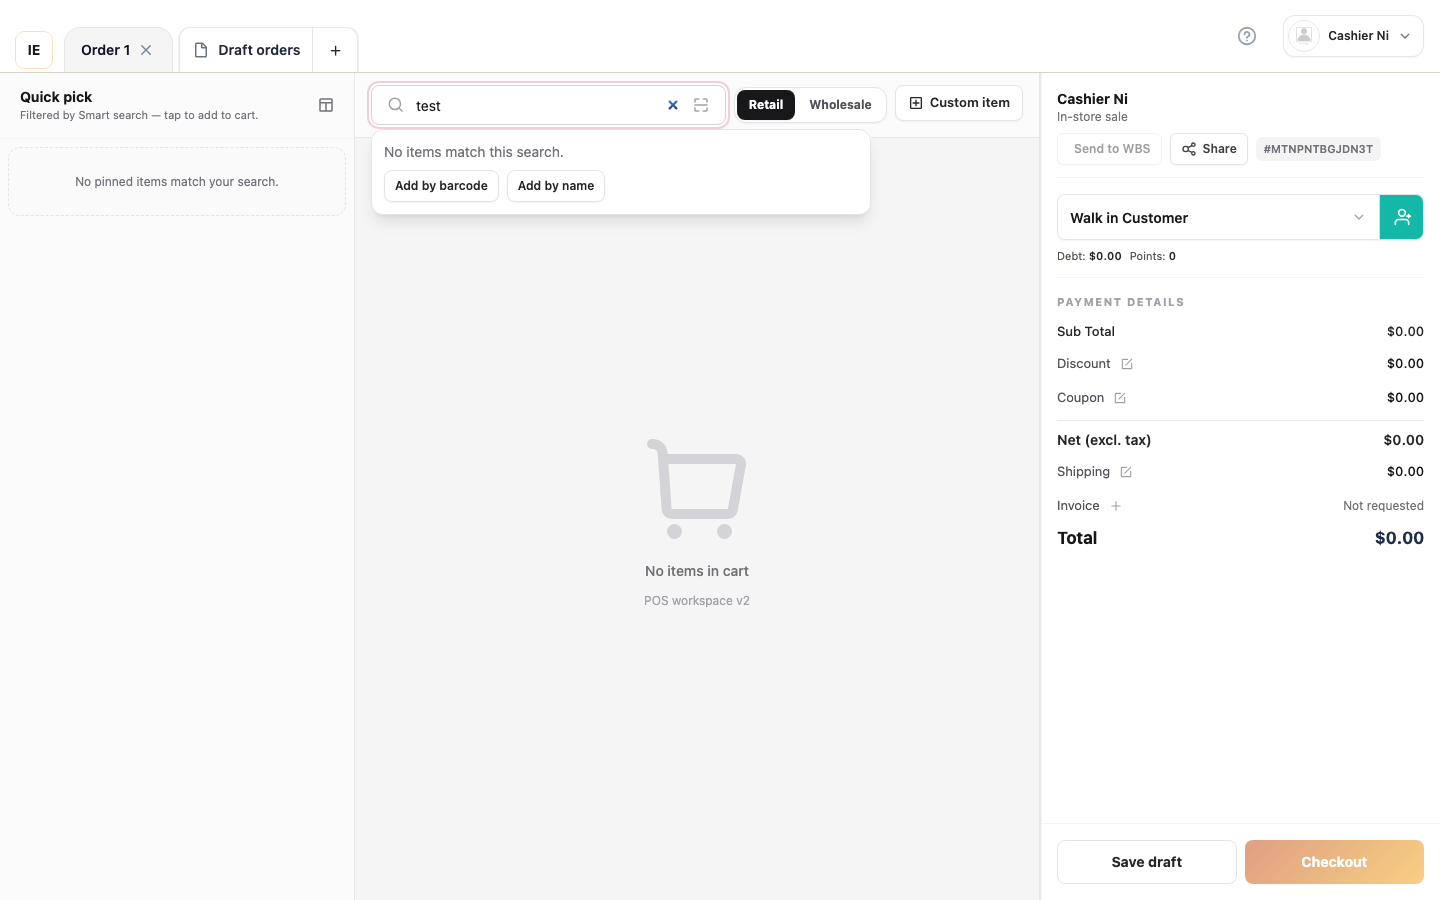
Section titled “Cart totals”Bottom of cart panel shows:
- Subtotal — Sum of all line totals before tax/discount
- Item discounts — Catalog-level discounts configured per product
- Membership discount — Applied when customer is attached
- Discount — Order-level discount (manual or coupon)
- Coupon — Coupon code discount (if applied)
- Tax — Calculated based on store settings (e.g., 9.15% sales tax)
- Total — Final amount to collect
Tax calculation:
- Only applies to taxable products (configured per product)
- Non-taxable items (e.g., groceries, medicine) excluded from tax base
- Tax rate set at store level (typically 9.15% for most locations)
- Calculated on subtotal after item discounts
Example:
Milk (taxable): $5.00 × 1 = $5.00Bread (non-tax): $3.00 × 2 = $6.00Subtotal: $11.00Tax (9.15% on $5.00): $0.46Total: $11.46Discounts, Coupons & Promotions
Section titled “Discounts, Coupons & Promotions”The POS supports multiple types of discounts that can be combined:
1. Item-Level Catalog Discounts
Section titled “1. Item-Level Catalog Discounts”Configured by: Admin in product settings
Applied: Automatically when product added to cart
Display: Shows in cart totals under “Item discounts”
Types:
- Percentage discount — e.g., 10% off (reduces unit price by %)
- Fixed amount — e.g., $2 off per unit
- Promotional price — Item marked with “Promo” badge in catalog
Calculation:
Line with 10% item discount: Unit price: $10.00 Item discount: -$1.00 (10%) Effective price: $9.00/unit Quantity: 3 Line total: $27.00Cart display:
- Shows under “Item discounts” in totals section
- Each affected line shows discount per unit
- Promotional items display “Promo” badge
2. Order-Level Discount
Section titled “2. Order-Level Discount”Configured by: Cashier at checkout
Applied: Manually via discount field or auto-applied via promotion
Display: Shows as “Discount” in cart totals
Entry methods:
- Click Discount field in cart panel
- Enter amount or percentage
- Applies to entire order subtotal
Calculation:
Order discount (10%): Subtotal (after item discounts): $100.00 Order discount: -$10.00 (10%) Subtotal after discount: $90.00Permissions:
- Store settings control if cashier can edit discount
- If disabled, shows message: “Store settings do not allow changing the order discount”
3. Coupon Codes
Section titled “3. Coupon Codes”Configured by: Admin in marketing/promotions
Applied: Customer provides code, cashier enters
Display: Shows as “Coupon” in cart totals with code name
How to apply:
- Customer provides coupon code (printed, email, SMS)
- Click Coupon field in cart panel
- Enter code (e.g.,
SAVE20,SUMMER10) - Click Apply
- System validates:
- Code exists and active
- Not expired
- Minimum order met
- Customer eligible
- Discount applied, shows “Coupon applied” toast
Coupon types:
- Percentage off — e.g., 20% off entire order
- Fixed amount — e.g., $10 off order
- Free shipping — Removes delivery fee
- Buy X Get Y — Auto-adds reward items (see Promotions)
Validation errors:
- ❌ “Code not found” — Invalid or expired code
- ❌ “Minimum order not met” — Order below threshold
- ❌ “Already used” — Single-use code already redeemed
- ❌ “Not eligible” — Customer restrictions
Removing coupon:
- Click Clear button next to coupon field
- Or remove discount field entirely
4. Buy X Get Y Promotions
Section titled “4. Buy X Get Y Promotions”Configured by: Admin in promotions
Applied: Automatically when conditions met
Display: Auto-added lines with “Promo item” badge
How it works:
- Customer adds trigger items to cart (e.g., 2 units of Product A)
- System checks promotion rules:
- Buy 2, get 1 free (same item)
- Buy 2 Product A, get 1 Product B free
- Reward line auto-added to cart:
- Shows “Promo item” badge
- Price set to $0.00 (locked)
- Note: “Promotion (auto-added)”
- Quantity matches reward rule
- If trigger items removed, reward lines auto-removed
Example — Buy 2 Get 1 Free (Same Item):
Cart:├─ Product A (qty 2) @ $10 = $20.00 ← Trigger└─ Product A (qty 1) @ $0.00 [Promo] ← Auto-added reward Note: "Buy 2, get 1 free (same item)"Example — Buy 2 Get Different Item:
Cart:├─ Product A (qty 2) @ $15 = $30.00 ← Trigger└─ Product B (qty 1) @ $0.00 [Promo] ← Auto-added reward Note: "Buy 2, get 1 free — Product B"Promotion badge in catalog:
- Products in active promotions show “Promo” badge
- Hover shows rule: “Buy 2, get 1 free”
Toast notification:
- When reward auto-added: “Added 1 promotional line to the cart”
Receipt display:
- Promotional items print with note: “+1 free (promo)” or “+1 Product B (free)”
5. Membership Discounts
Section titled “5. Membership Discounts”Configured by: Admin in customer/membership settings
Applied: Automatically when customer attached to sale
Display: Shows as “Membership discount” in totals
How it works:
- Cashier selects customer (click Select customer button)
- If customer has active membership:
- Membership tier discount applied (e.g., Gold = 5% off)
- Shows in cart totals
- Discount applies to subtotal after item discounts
Calculation:
Membership discount (Gold tier, 5%): Subtotal: $100.00 Membership discount: -$5.00 (5%) Subtotal after membership: $95.00Discount Stacking Order
Section titled “Discount Stacking Order”When multiple discounts apply, calculation order is:
1. Item-level catalog discounts ↓2. Subtotal (after item discounts) ↓3. Membership discount (% of subtotal) ↓4. Order-level discount (manual) ↓5. Coupon discount ↓6. Subtotal (after all discounts) ↓7. Tax calculation ↓8. Final totalExample with all discounts:
Line 1: Product A (qty 2) @ $10, 10% item discount  → Line total: $18.00 (after $2 item discount)
Line 2: Product B (qty 1) @ $50, no item discount  → Line total: $50.00
Subtotal: $68.00
Membership discount (5%): -$3.40  → Subtotal: $64.60
Order discount (10%): -$6.46  → Subtotal: $58.14
Coupon ($5 off): -$5.00  → Subtotal: $53.14
Tax (8%): +$4.25  → Final total: $57.39
Discount & Coupon Troubleshooting
Section titled “Discount & Coupon Troubleshooting”| Issue | Cause | Solution |
|---|---|---|
| Cannot edit discount field | Store setting disabled | Ask manager to enable in settings |
| Coupon code rejected | Invalid/expired code | Check code spelling, expiration |
| Coupon “minimum not met” | Order below threshold | Add more items or remove coupon |
| Promotional item not added | Trigger quantity not met | Add required trigger items |
| Promotional item removed | Trigger items removed | Re-add trigger items |
| Membership discount not showing | Customer not attached | Select customer in top toolbar |
| Wrong discount amount | Multiple discounts stacking | Review totals breakdown |
Tax summary & Cart actions
Section titled “Tax summary & Cart actions”Below cart lines:
- Subtotal — sum of line totals before tax
- Tax — calculated tax at 9.15% (default rate, configurable per store) applied only to taxable items
- Discount — total discounts (catalog + coupons)
- Grand total — final amount payable
Tax breakdown details:
- Expand “View tax breakdown” for detailed tax summary by rate
- Shows taxable amount and tax per rate (e.g., “9.15% on $50.00 = $4.58”)
- Receipt displays tax amount and rate clearly
Tax configuration notes:
- Tax rate is set per store in Admin Panel → Store Settings → Tax
- Products are marked as taxable/non-taxable individually
- Tax-exempt customers can be flagged to skip tax calculation
Cart actions
Section titled “Cart actions”- Send to WBS — Send order to Warehouse Pick Board (appears above Pay button)
- Clear cart — Remove all lines (confirmation required)
- Save draft — Save cart as named draft for later
- Pay — Open checkout modal
Send to WBS workflow: When you need warehouse staff to pick items before completing the sale:
- Add items to cart
- Click “Send to WBS” button (located above Pay button in cart panel)
- Order is immediately queued on Warehouse Board
- Cart clears, ready for next customer
- Toast confirms: “Order sent to warehouse pick board”
- Warehouse staff sees order and picks items
- When ready, complete checkout from Orders page
Product scan
Section titled “Product scan”Barcode scanning methods
Section titled “Barcode scanning methods”- USB scanner (HID): Scans directly into focused search input
- Camera scan: Click camera icon → inline webcam scanner (requires permission)
- Keyboard wedge: Desktop app listens for global barcode input events
Scan handling
Section titled “Scan handling”When barcode detected:
- EAN-13/UPC: Exact match lookup in catalog
- Code128: SKU or custom barcode match
- Weighted barcode (internal format): Extracts PLU + weight, adds to cart with embedded quantity
- Price-embedded barcode: Extracts price, overrides catalog price
If product not found:
- Shows “Product not found” toast
- Search input clears
- Can manually add via Quick Add
Checkout flow
Section titled “Checkout flow”Step 1: Open checkout
Section titled “Step 1: Open checkout”Click Pay button in cart (bottom of cart panel)
Blocked scenarios:
- Empty cart → Pay button disabled
- Missing store/lane → Banner blocks checkout
- Debt limit exceeded (linked customer) → Warning modal, can override or cancel
Step 2: Choose payment method
Section titled “Step 2: Choose payment method”Payment modal displays available options based on store configuration and order context:
Available payment methods
Section titled “Available payment methods”The system displays these payment methods (emoji and label):
| Payment Method | Display | Icon | When Available | Use Case |
|---|---|---|---|---|
| Cash | “Cash” | 💵 | Always | Physical currency payment |
| Card | “Card” | 💳 | Always | Card terminal (PAX/CodePay) |
| Check | “Check” | 📝 | Retail & Wholesale | Bank check payment |
| Wallet | “Wallet” | 👛 | Retail & Wholesale | E-wallet/digital payment |
| Debt | “Debt” | 📒 | Wholesale only | On-account credit (B2B) |
Counter/POS sales (this workspace):
- Retail mode: Cash, Card, Check, Wallet
- Wholesale mode: Cash, Card, Check, Wallet, Debt (when store config allows)
Delivery orders (created from separate flow):
- Cash → labeled “COD” (Cash on Delivery)
- Card → labeled “Remote Card Payment”
- Plus Check, Wallet, Debt for wholesale
Note: The “Debt” payment method (on-account credit) is only available in wholesale B2B flows and requires customer with credit limit. Retail counter sales do not show this option.
Cash payment
Section titled “Cash payment”- Select Cash tab (💵)
- Enter amount received from customer
- System calculates change due automatically
- Click Complete payment
Quick cash buttons:
- Preset denominations (10,000 / 20,000 / 50,000 / 100,000 / 500,000)
- Click to auto-fill received amount
- Shows change calculation in real-time
Change calculation:
Received: 500,000 ₫Total: 478,500 ₫Change: 21,500 ₫ ← Displayed prominentlyKeyboard shortcut: Ctrl + P to open payment modal
Payment method overview:
The payment modal shows all available methods as tabs with icons. Retail counter sales show Cash, Card, Check, and Wallet. Wholesale mode adds Debt for B2B customers.
Card terminal (PAX / CodePay)
Section titled “Card terminal (PAX / CodePay)”- Select Card tab (💳)
- Click Send to terminal
- Terminal displays amount
- Customer taps/inserts card
- System waits for terminal response
Terminal status indicators:
- 🔵 Connected — Terminal ready
- 🟡 Processing — Waiting for customer action
- 🟢 Success — Payment approved
- 🔴 Failed — Payment declined or terminal error
Terminal models supported:
- PAX A920 (Android terminal)
- CodePay terminals (Vietnam market)
Troubleshooting:
- Terminal not responding → Check USB/network connection
- Payment timeout → Cancel and retry
- Declined card → Ask customer for alternate payment
See Card Terminal Setup for configuration.
Check payment
Section titled “Check payment”- Select Check tab (📝)
- Enter check number or reference
- Optional: Record bank and check details
- Click Complete payment
Use case: Customer pays with bank check; cashier records check details for deposit.
Note: Payment marked as completed immediately; check clearing happens during bank reconciliation.
Wallet payment (E-wallet / Digital)
Section titled “Wallet payment (E-wallet / Digital)”- Select Wallet tab (👛)
- Customer scans QR code or shows payment confirmation
- Enter wallet transaction ID or reference
- Click Complete payment
Supported wallets (Vietnam market):
- MoMo
- ZaloPay
- VNPay
- ShopeePay
- Other digital wallets
Use case: Customer completes payment in their mobile wallet app, cashier records the transaction reference.
Debt payment (On-account credit — Wholesale only)
Section titled “Debt payment (On-account credit — Wholesale only)”- Select Debt tab (📒)
- System validates customer credit limit
- Order amount added to customer account balance
- Click Complete payment
Requirements:
- Customer must be attached to the order
- Customer must have available credit limit
- Wholesale mode must be enabled
Blocked scenarios:
- Credit limit exceeded → Warning modal, cannot proceed
- No customer attached → Debt option disabled
- Retail mode → Debt option not shown
Use case: B2B wholesale customers with approved credit terms can place orders on account. Balance tracked in customer ledger.
Split payment
Section titled “Split payment”For orders paid with multiple methods (e.g., partial cash + card):
- Click Split payment toggle
- Add first payment method → Enter partial amount
- Click Add another payment
- Select second method → System shows remaining balance
- Complete each payment in sequence
Example:
Total: 1,500,000 ₫Payment 1: Cash 500,000 ₫Payment 2: Card 1,000,000 ₫Limitations:
- Maximum 3 payment methods per order
- Cannot split within same method (e.g., two cash payments)
- Card terminal must support partial amounts
Customer debt (credit terms)
Section titled “Customer debt (credit terms)”Requirements:
- Customer must be attached to sale
- Customer has available credit limit
- Store allows debt payments
- Select Debt tab
- Shows customer’s current balance and available credit
- Click Bill to customer
- Order completes, balance added to customer’s debt
Debt limit check:
- Blocks checkout if
current_debt + order_total > credit_limit - Manager override available with password
Settlement: Customer pays down debt via Customers page → Record payment.
E-wallet & other methods
Section titled “E-wallet & other methods”Additional payment methods (if configured):
- Momo — Vietnamese mobile wallet
- ZaloPay — Vietnamese mobile wallet
- VNPay QR — QR code payment
Process similar to bank transfer: show QR code, customer scans and pays, cashier confirms.
Step 3: Confirm & place order
Section titled “Step 3: Confirm & place order”After payment method selected:
-
Review order summary:
- Line items, quantities, prices
- Tax breakdown
- Payment method(s) and amounts
-
Add invoice details (optional):
- Customer name (if not already attached)
- Tax ID for VAT invoice
- Company name and address
- Email for receipt delivery
-
Click Place order button
Final validation:
- Inventory check (if stock tracking enabled)
- Payment amount matches total
- Required fields completed
Step 4: Receipt & completion
Section titled “Step 4: Receipt & completion”Success screen
Section titled “Success screen”Shows:
- ✅ Order number (e.g.,
#POS-2024-00123) - Total paid and change due (cash payments)
- Payment method summary
- Receipt status (printed/failed)
Actions:
- New sale — Clear cart, start next order
- Print receipt — Reprint if auto-print failed
- Email receipt — Send to customer email
Receipt printing
Section titled “Receipt printing”Auto-print (default):
- Receipt prints to configured printer immediately
- If printer offline, shows error + manual print option
Manual print:
- Click Print receipt button in success screen
- Or from Orders page → Order detail → Print
Receipt includes:
- Store name, address, tax ID
- Order number and timestamp
- Line items with quantities and prices
- Tax breakdown per item (9.15% on taxable items)
- Total tax line (sum of all item taxes)
- Payment method(s)
- Change due (cash)
- Cashier name
- Invoice barcode (Code128 format, not EAN-13)
Tax display on receipt:
──────────────────────────────────Organic Valley Milk x1 $4.99 Tax (9.15%) 0.46Sourdough Bread x1 $5.49 No tax 0.00──────────────────────────────────Subtotal $10.48Tax $ 0.46Total $10.94──────────────────────────────────Invoice: [Code128 Barcode]#A00001──────────────────────────────────Barcode format note:
- Uses Code128 (not EAN-13) for compact client order ID
- Scannable for returns, lookups, and office reconciliation
- Printed below totals for easy scanning
Receipt transparency:
- Each taxable item shows tax calculation
- Non-taxable items labeled “No tax”
- Total tax summarized at bottom
- Complies with sales tax reporting
Printer troubleshooting:
- No print → Check printer connection in Settings
- Wrong format → Verify printer model (ESC/POS vs. StarPRNT)
- Paper jam → Open printer, clear jam, retry
Offline checkout
Section titled “Offline checkout”If no internet connection:
- Checkout proceeds normally
- Order saved to local outbox queue
- Receipt prints with “(Offline - pending sync)” note
- Syncs automatically when connection restored
Outbox status:
- View pending orders in Settings → Local Data
- Manual sync: Click “Sync now”
- Failed sync → Retry or contact support
Limitations in offline mode:
- Cannot validate promotional pricing
- Card terminal requires connectivity (cash/debt only)
- Customer credit limit not enforced (warning shown)
Special workflows
Section titled “Special workflows”Return/refund from sale screen
Section titled “Return/refund from sale screen”- Search for original order (by invoice barcode or customer)
- Open order detail modal
- Click “Return” → Return flow (see Returns)
Resume draft
Section titled “Resume draft”- Click “Drafts” panel toggle (below cart)
- Select draft from list
- Draft lines load into cart
- Continue editing or pay
Custom item (ad-hoc line)
Section titled “Custom item (ad-hoc line)”- Click Quick Add (plus icon) → “Custom item”
- Enter name, price, quantity
- Select tax treatment
- Add to cart
Keyboard shortcuts
Section titled “Keyboard shortcuts”| Key | Action |
|---|---|
/ | Focus search input |
Ctrl + P | Open payment modal (checkout) |
F2 | Complete cash payment (when in payment modal) |
Escape | Clear search / close modal |
Enter | Submit search / confirm modal |
F3 | Focus search (alternative) |
| Scan code | Adds product to cart (if USB scanner connected) |
Troubleshooting
Section titled “Troubleshooting”Product not adding to cart
Section titled “Product not adding to cart”Cause: Stock check failed or product inactive Solution: Check product status in Items, verify stock if tracking enabled
Pay button disabled
Section titled “Pay button disabled”Causes:
- Empty cart
- Store not selected
- Lane not selected (multi-lane store)
- Work shift required but not open
Solution: Address the blocking condition, banner message explains what’s needed
Prices wrong
Section titled “Prices wrong”Cause: Wrong store selected, or price list mismatch Solution: Verify store selector, check product price in Dashboard → Catalog