Step 5 — Manage customer debt
I. Goal
Section titled “I. Goal”You know which customers have open debt, can send reminders, and can record a payment when they pay you back.
II. What counts as “debt”?
Section titled “II. What counts as “debt”?”Two kinds, both shown in Finance → Receivables:
| Type | When it shows up |
|---|---|
| Wholesale order balance | A wholesale customer buys on credit and hasn’t paid in full. |
| Negative customer-wallet balance | A customer pays part of an order in cash, the rest goes to wallet, and the wallet goes negative. |
Both roll up into the same Receivables list.
III. Pre-flight: create your first receivable
Section titled “III. Pre-flight: create your first receivable”Receivables (/dashboard/finance/receivables) is empty by default — until you create your first on-credit order. To get a row to work with:
- Add or pick a customer in Customers → List (
/dashboard/customers/list) — you need at least one customer withwholesale_credit_enabled = trueand a credit limit > 0. - Place a wholesale order in Wholesale Workspace (
/dashboard/orders/create-wholesale):- Pick the customer in the top customer selector.
- Add a product (or several), adjust qty + price.
- In the payment split, choose a method that leaves a non-zero unpaid remainder — e.g. pay 30% by cash, leave 70% on customer debt (
force_customer_debt: true). - Click Submit order.
- Open Finance → Receivables (
/dashboard/finance/receivables) → the new receivable row appears at the top, statusopen.
If you only ran retail sales (no wholesale), the receivables list will stay empty — retail sales are paid at the counter, no debt is created.
IV. Find customers who owe you
Section titled “IV. Find customers who owe you”Customers → open a customer → “Debt” tab. The header shows:
- Open balance — total the customer owes across all open debts.
- Oldest invoice — how long it has been overdue.
For a full picture, Finance → Receivables → filter status: open lists every invoice in the store, grouped by customer.
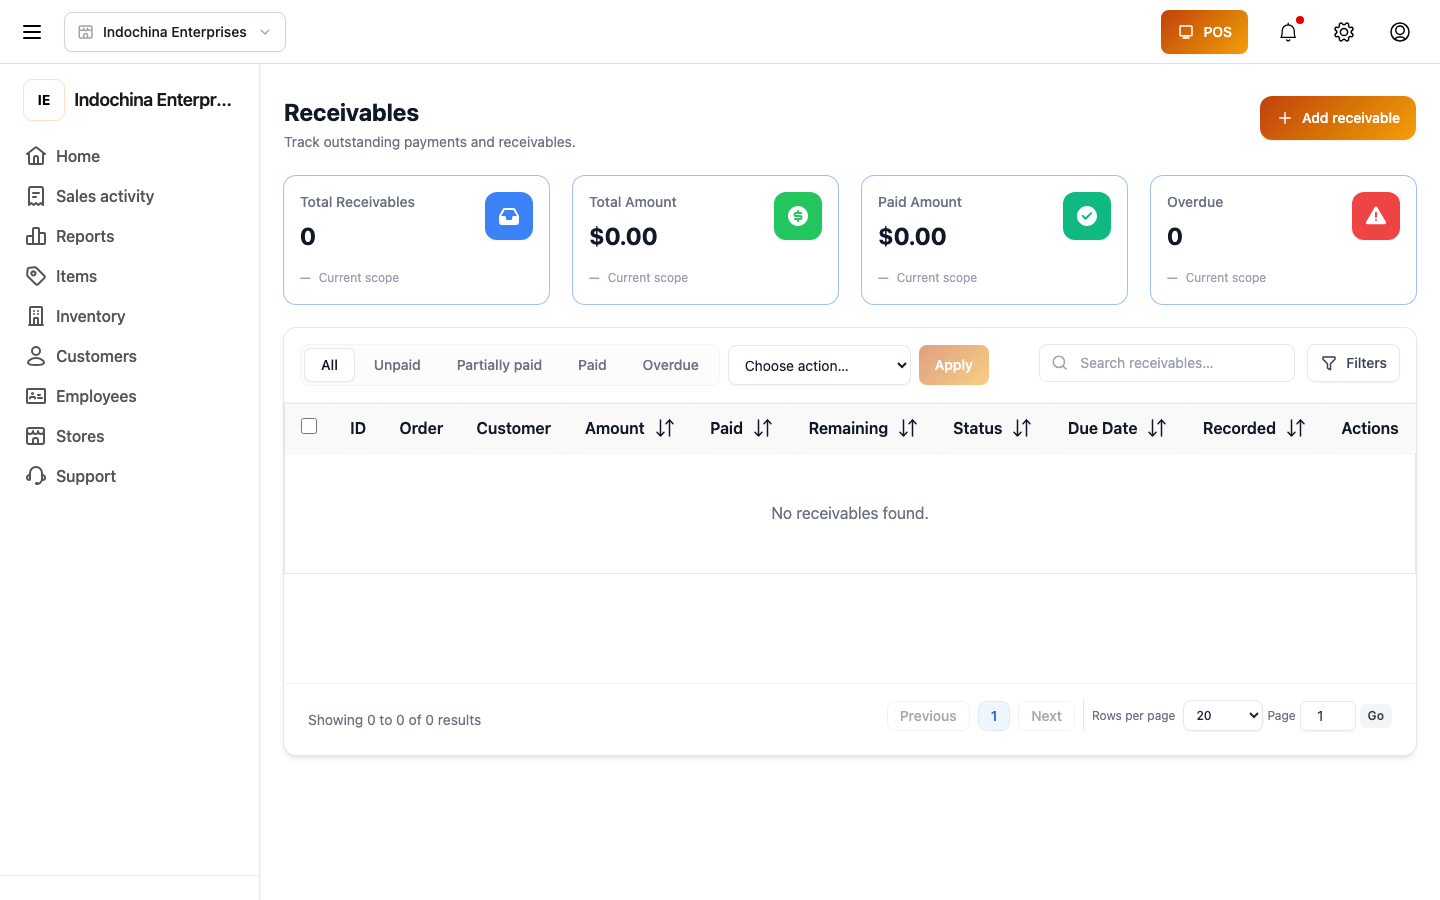 Finance → Receivables — the full-store picture. Filter by status, store, or date range.
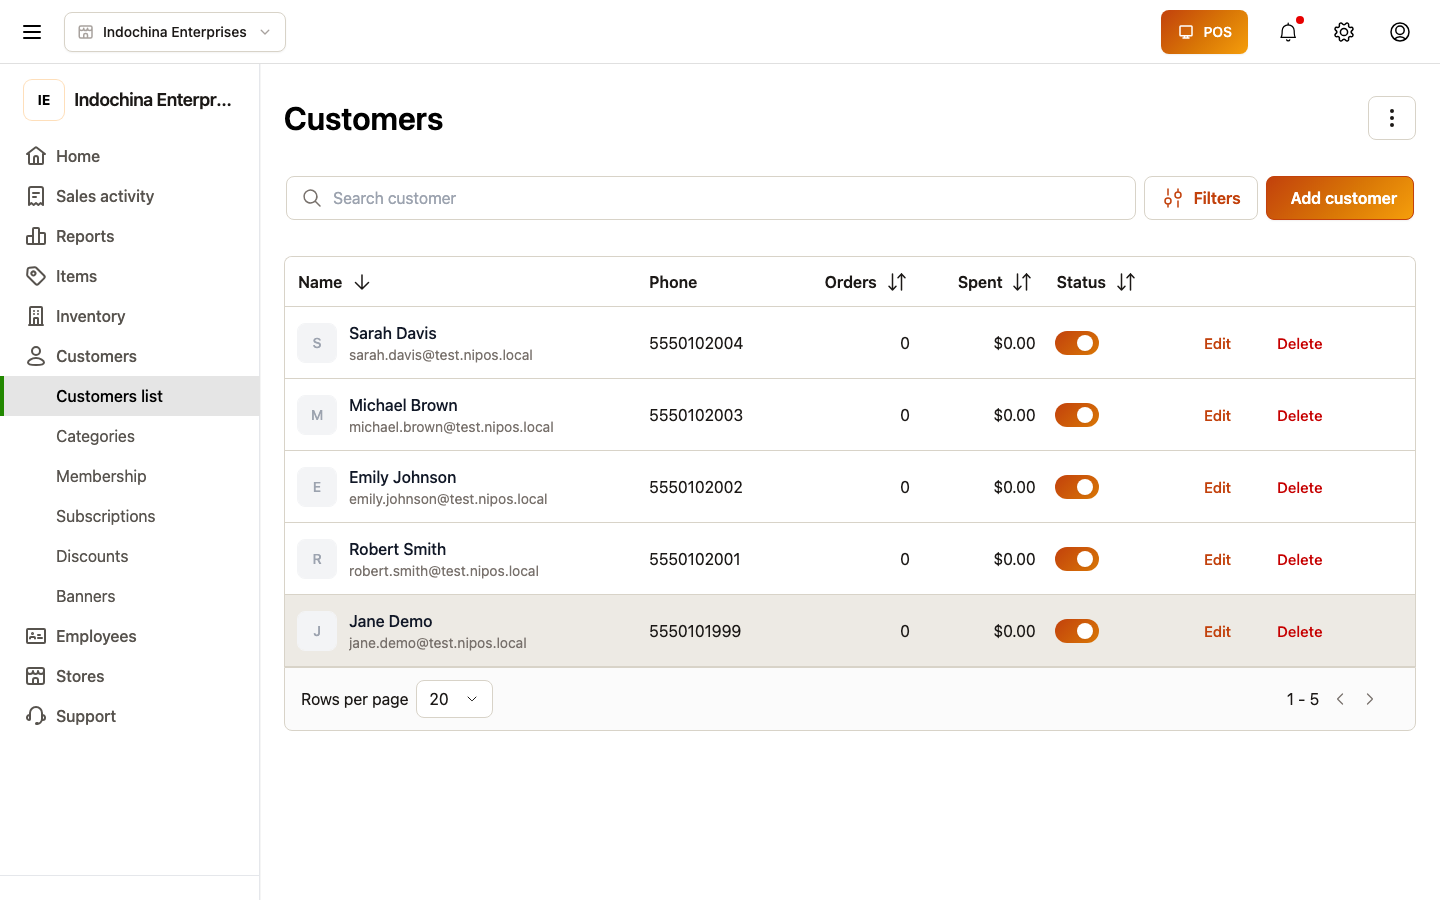 Customers — open one to see that customer’s debt detail.
V. Record a payment
Section titled “V. Record a payment”- Open the customer (or open the receivable directly).
- Record payment → enter amount + method (cash / bank / wallet).
- (Optional) Add a reference code (transfer txn id).
- Save.
The receivable transitions open → paid (or open → partial → paid if you only paid part), the customer’s open balance drops, and the Debt tile in Sales overview drops by the same amount.
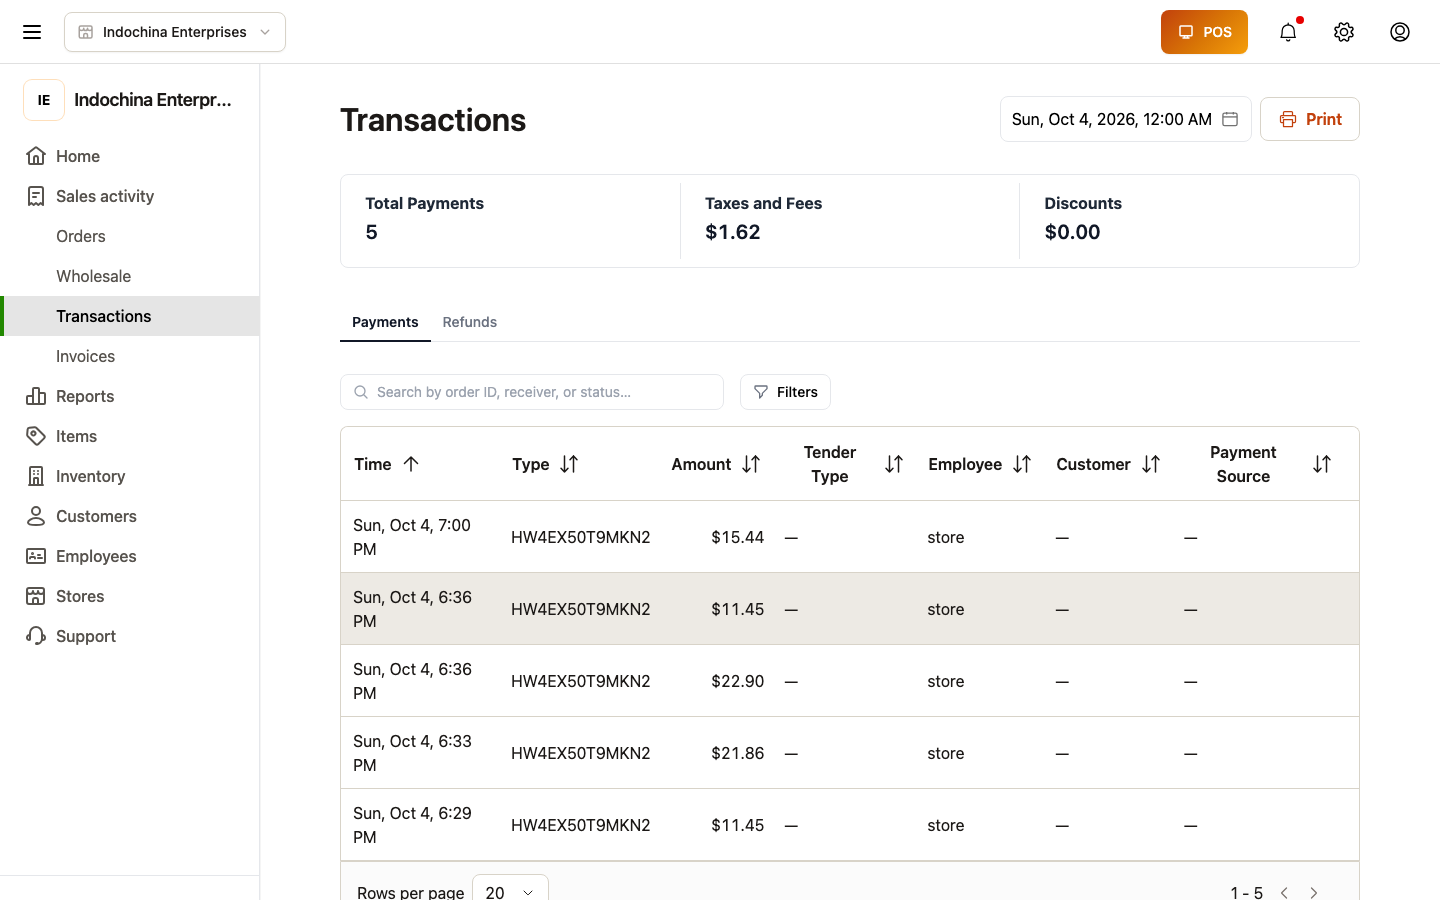 Finance → Transactions — every payment / refund lands here, including debt receipts.
VI. Send a reminder
Section titled “VI. Send a reminder”The dashboard does not yet send batch SMS / ZNS reminders, but you can:
- Print / download the invoice from the order detail screen.
- Open Support tickets to escalate to ops if you need a campaign tool.
- (Future) Use Finance → Reminders when the feature ships.
VII. Approve or reject refund-against-debt
Section titled “VII. Approve or reject refund-against-debt”If a customer wants to use their open debt to offset (i.e. we owe them less), open the original order → Refund → choose Apply to debt. The debt drops by the refund amount.
VIII. FAQ
Section titled “VIII. FAQ”The customer paid more than they owed. The excess becomes a wallet balance under Customers → wallet.
Debt belongs to a closed shift. That’s fine — debt follows the store, not the shift. You can open it from any shift.
Can I cancel an old debt? Yes — Owner only. Finance → Receivables → open → Cancel. The audit log records who and why.
Receivables is empty but I sold to a customer today. You probably ran a retail sale (cash / card / wallet at the counter). Retail sales don’t create debt. To create debt, use the Wholesale Workspace with a customer that has wholesale credit enabled.
IX. Checklist before moving on
Section titled “IX. Checklist before moving on”- You have placed at least one wholesale on-credit order with
force_customer_debt: true. - The receivable appears in Finance → Receivables with status
open. - You can record a partial payment that splits the receivable into two.
- Payments show in Finance → Transactions.
- The Debt tile in Sales overview updates correctly.
X. Next step
Section titled “X. Next step”→ Step 6 — Read your first report: step 6.
XI. Related articles
Section titled “XI. Related articles”- Finance → Receivables & Transactions
- Customers → customer profile + wallet
- Wholesale orders — create the on-credit order
- Orders — enter a wholesale order