Settings — Customer display & slideshow
import { Aside } from ‘@astrojs/starlight/components’;
When to use this page
Section titled “When to use this page”The store has a secondary screen (customer display) facing the customer showing:
- Banner slideshow — product promos, opening hours, store messages.
- Order being tendered — total, line items (when cashier taps Card).
This guide is for the store owner configuring the banner + (optionally) the Electron secondary screen.
Source: apps/vendor-web/src/app/point-of-sale/pages/settings/settings-slideshow-page.tsx + <PosCustomerDisplayBannerSetup>.
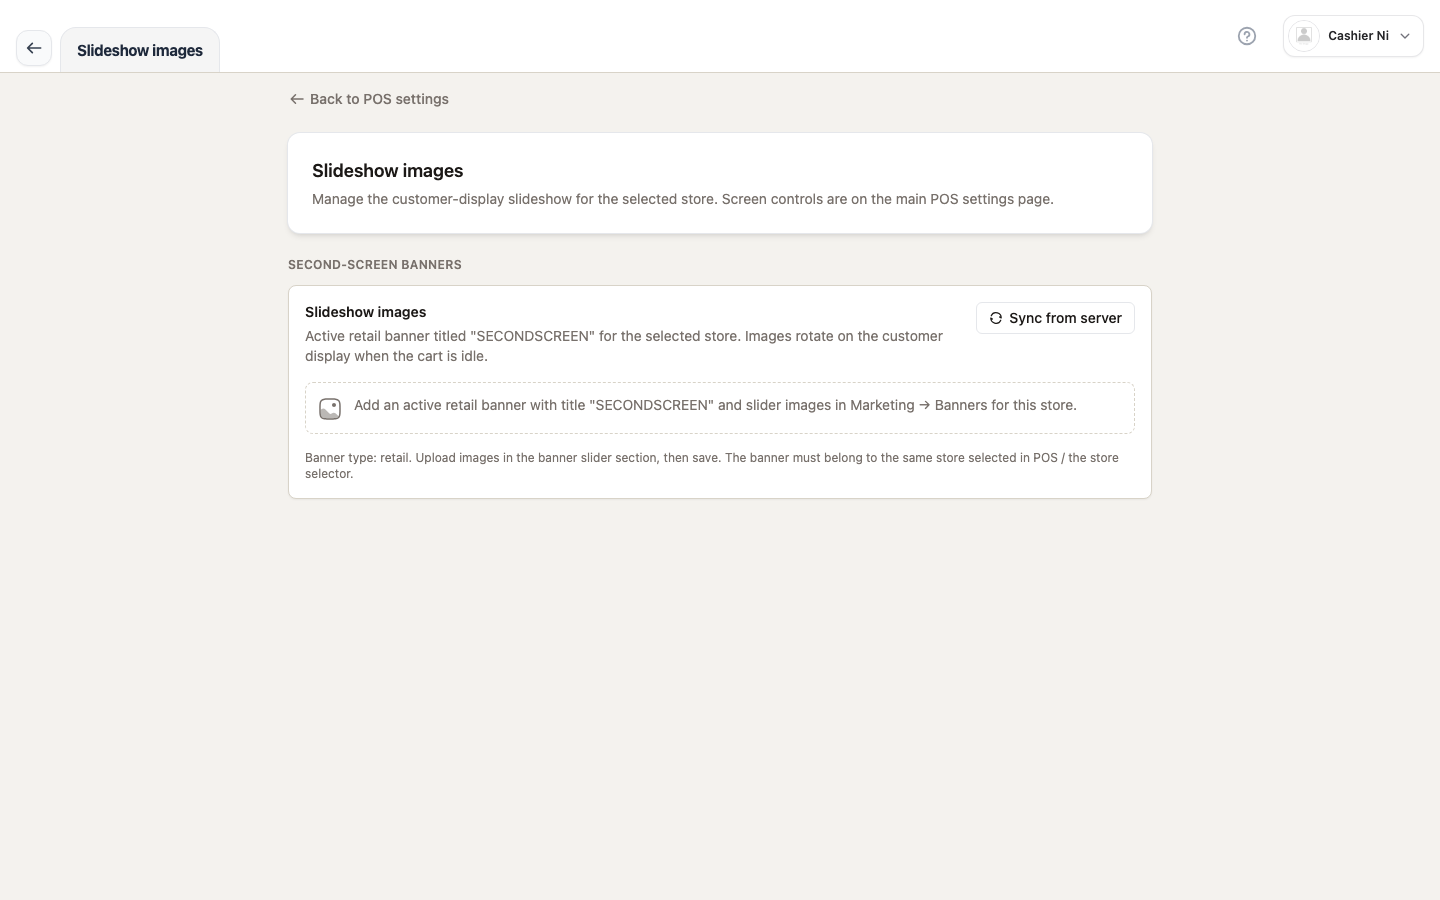 Image: slideshow page —
 <PosCustomerDisplayBannerSetup> editor, Sync + Edit buttons, up to 4 image previews. Spec owner: cashier-screenshots.spec.ts → "settings — slideshow (banner setup)".
How to access
Section titled “How to access”From the Cashier shell → Settings → Slideshow (/point-of-sale/settings/slideshow).
This entry shows for cashiers with pos write (see Settings overview).
Configure the banner (4 steps)
Section titled “Configure the banner (4 steps)”Step 1 — Resolve the banner for the store
Section titled “Step 1 — Resolve the banner for the store”<PosCustomerDisplayBannerSetup> looks up the banner by the fixed title CUSTOMER_DISPLAY_BANNER_TITLE (defined in @indochina/shared) for the active store. The system auto-ensures this banner exists via the useEnsureCustomerDisplayBanner hook.
Step 2 — Open the editor
Section titled “Step 2 — Open the editor”If the cashier has store or product write (canEditBanners), click “Edit banner” to open <BannerModal> — upload images / edit content.
Step 3 — Upload slideshow images
Section titled “Step 3 — Upload slideshow images”In the editor, drag-and-drop or pick multiple images (slider). The system uses parseBannerSliderImages(displayBanner.data, displayBanner.image) to split them into a slideshow.
Up to 4 preview images are shown on the card.
Step 4 — Sync to desktop
Section titled “Step 4 — Sync to desktop”If the same banner is running on Vendor Desktop, click “Sync” (syncMutation) — calls pullCustomerDisplayBannersFromServer({ storeId, isElectronRuntime }) to pull server data into local.
Access rules
Section titled “Access rules”| Permission | Behaviour |
|---|---|
store read OR product read | Sees the banner (read-only) |
store write OR product write | Sees the Edit banner button |
No store/product permission | Card is replaced with a “noModuleAccess” line |
Secondary screen (Electron)
Section titled “Secondary screen (Electron)”PointOfSaleElectronDisplaySettings (shown at the top of the settings hub) lets you configure the secondary screen on Vendor Desktop:
- Open / close the customer-display window on the second display.
- Pick which display receives the slideshow.
- See a preview panel.
Expected outcome
Section titled “Expected outcome”- On the customer display: slideshow of banner images auto-rotates when the cashier isn’t ringing.
- During a card tender: the customer display switches to the order panel (
customer-display-panel.tsx) — shows the total, the line items, and prompts the customer to tap their card.
Common issues
Section titled “Common issues”| Symptom | Fix |
|---|---|
| Banner card is empty / not loading | Pick an active store on the top bar |
| No “Edit banner” button | Cashier lacks store/product write — owner grants the permission |
| Banner updated but desktop doesn’t change | Click Sync on the card; verify Vendor Desktop is running |
| Slideshow doesn’t rotate | Check the Electron customer-display panel — it may be in idle mode |
| Banner image is blurry | Use PNG ≥ 1080p; 16:9 ratio recommended for landscape screens |