Step 3 — Take your first sale
I. Goal
Section titled “I. Goal”You can scan a product, attach a customer, take payment, and print a receipt end-to-end — for both retail (walk-in customer) and wholesale (on-account customer with credit terms). Any cashier can repeat the same flow.
II. Before you open the counter
Section titled “II. Before you open the counter”- Sign in to POS Workspace (
/point-of-sale/sale) — see Sign-in and account. - Pick a store in the top bar (only if you have multiple stores).
- Pick a register / lane — if the store has more than one lane, the system requires you to pick one before checkout unlocks.
- Open a work shift — see Work shifts. The shift tracks who is holding the cash drawer.
III. Retail vs wholesale — pick the right surface
Section titled “III. Retail vs wholesale — pick the right surface”The dashboard separates retail and wholesale into two distinct workspaces because they have different pricing, different payment methods, and different downstream flows:
| Surface | Path | Pricing | Payment methods | When to use |
|---|---|---|---|---|
| POS Workspace (retail) | /point-of-sale/sale | Retail price list | Cash / Card / Wallet | Walk-in customer, single ticket, no credit terms |
| Wholesale Workspace | /dashboard/orders/create-wholesale | Wholesale price list (per customer) | Cash / Card / Bank transfer / Customer debt | Known customer, on-account credit, multi-line invoice |
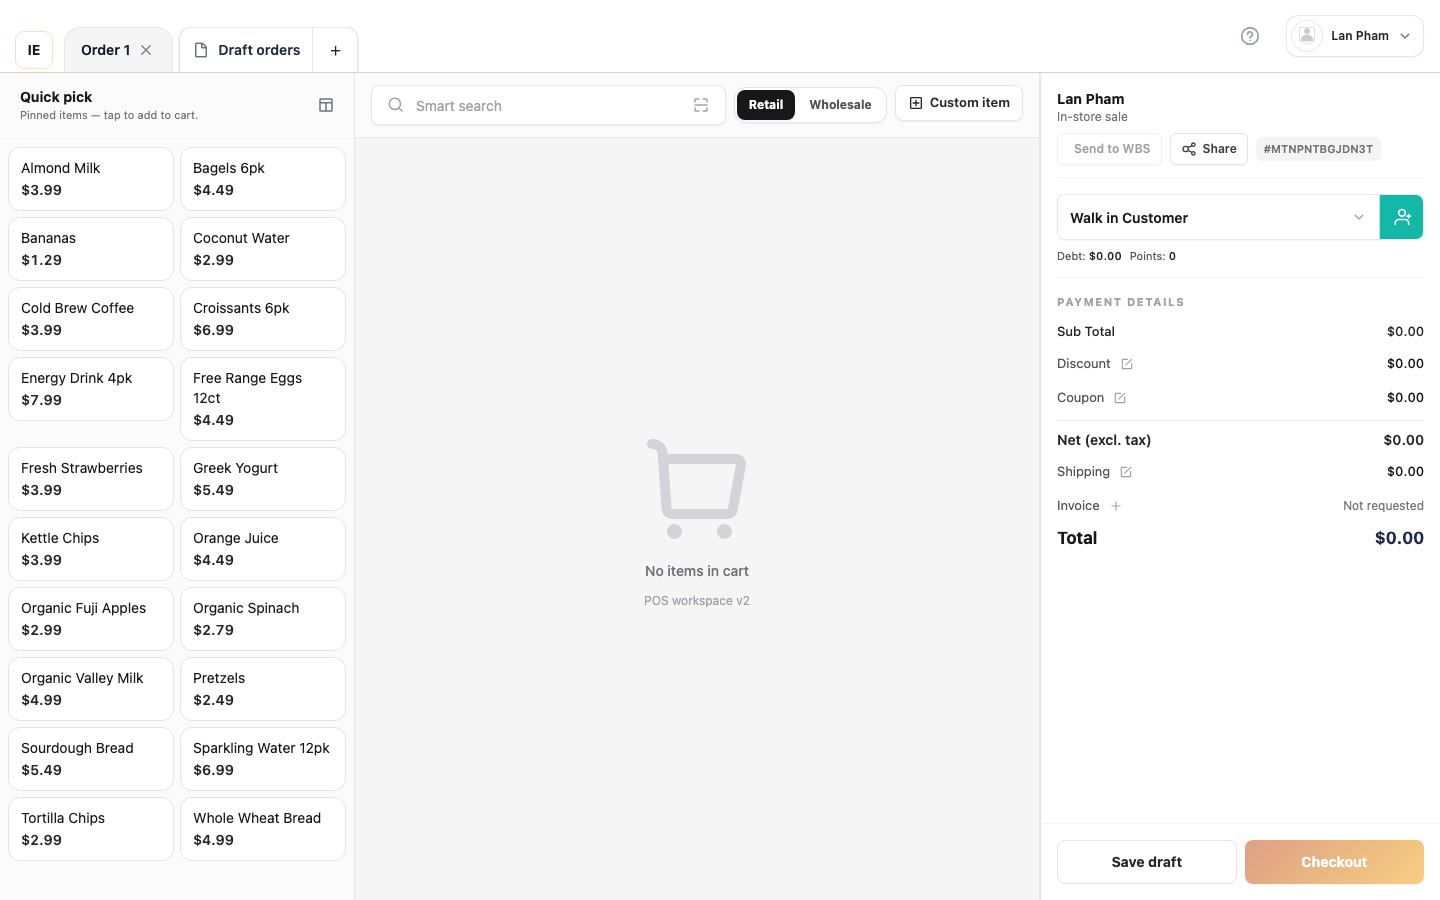 POS Workspace — the cashier’s home for retail sales.
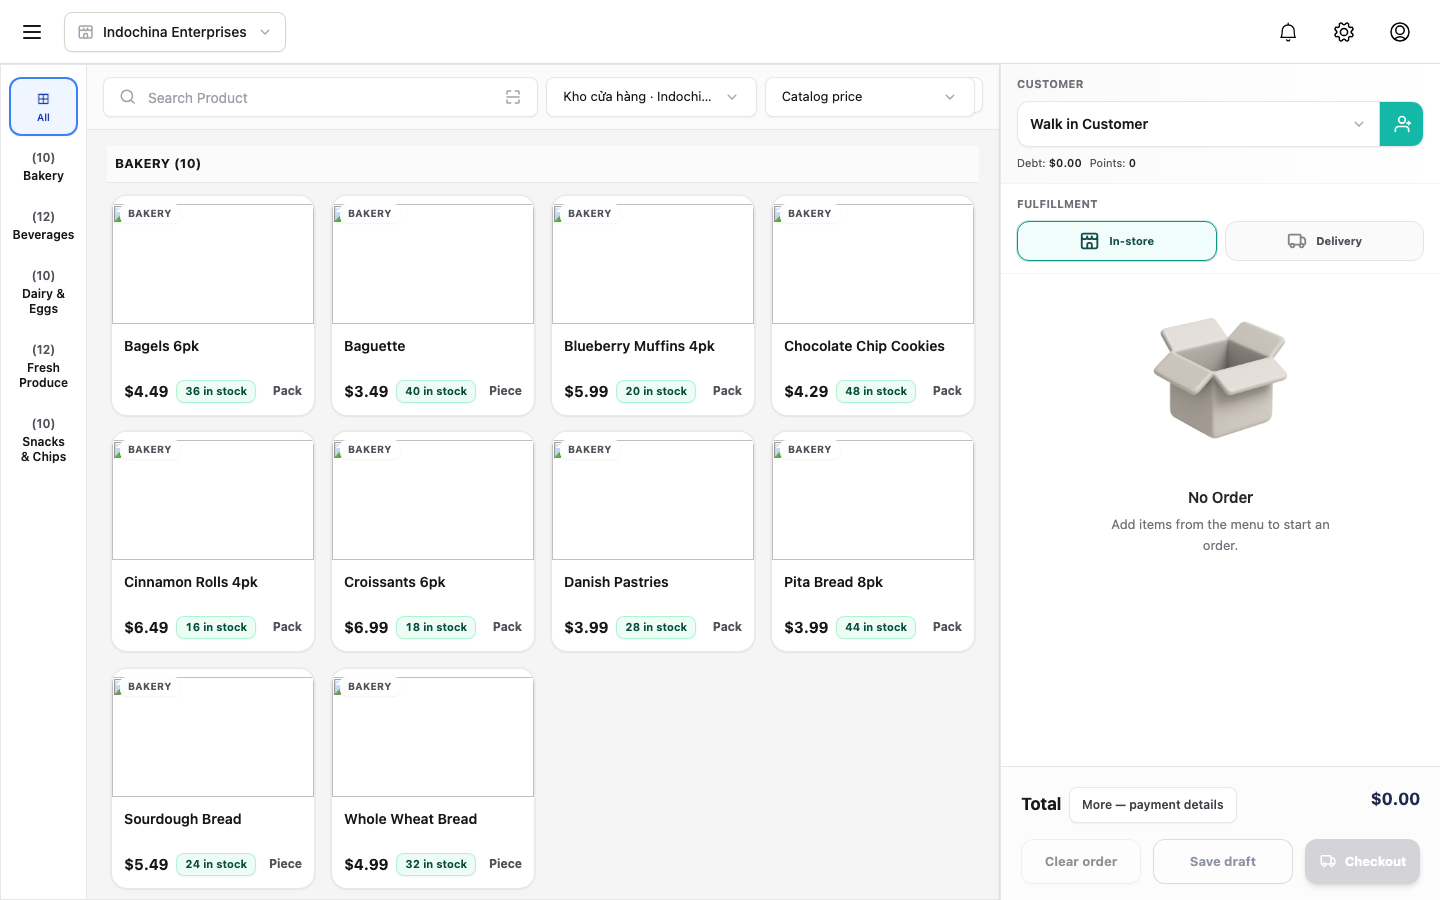 Wholesale order form — pick the customer, apply the wholesale price list, optionally sell on credit.
The retail-vs-wholesale split is enforced by route (
/point-of-sale/...vs/dashboard/orders/...), not by a toggle inside a single page. If you need to switch mid-shift, finish the current sale first.
IV. Run a retail sale
Section titled “IV. Run a retail sale”- Catalog panel (left) — click a product, scan a barcode, or search by name/SKU.
- Cart panel (right) — adjust quantities with the
+/−stepper, apply a line discount if the product allows it. - The cart header shows Subtotal · Tax · Total in real time. Checkout stays disabled until you have at least one line in the cart.
- (Optional) Click the Customer pill at the top of the cart to attach a customer — see § V.
- (Optional) Click Save draft if you want to come back to this cart later — see § VI.
When ready, click Checkout → the payment modal opens. See § VII.
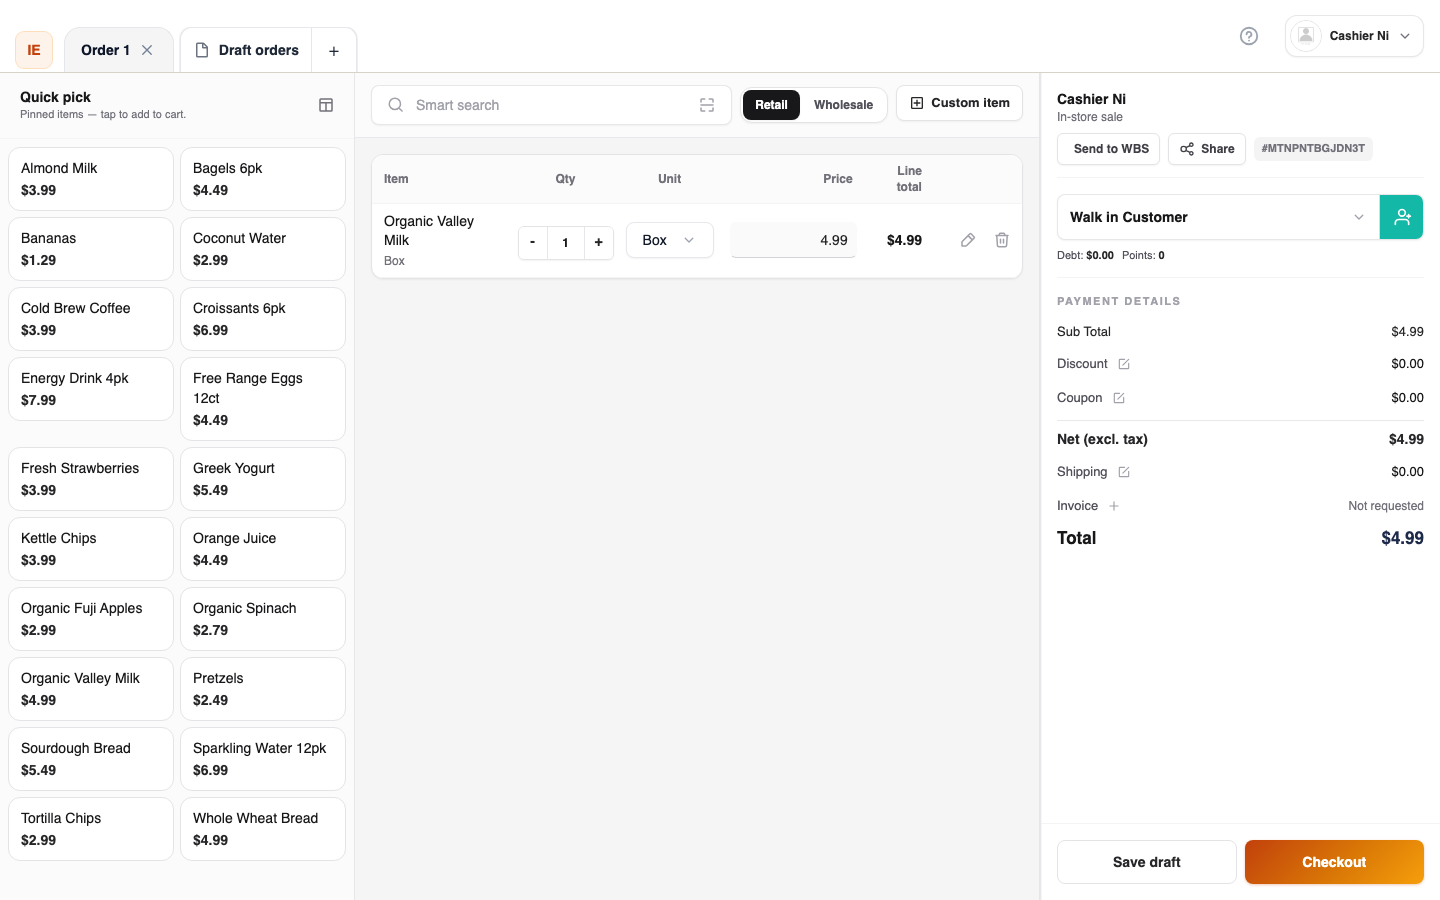 Three items in the cart. Checkout is now enabled.
V. Add or pick a customer
Section titled “V. Add or pick a customer”The cart has a Customer pill (top of the cart panel) that opens a customer listbox.
| You want to | Do this |
|---|---|
| Walk-in customer (no CRM) | Leave the customer empty. The order records as a guest sale. |
| Existing customer | Type a few letters of their name or phone in the listbox — the system filters live. Pick the right row. |
| Brand-new customer at the counter | Click + Add new customer inside the listbox. The Add customer modal opens — fill in name + phone (+ optional email) and Save. The new customer is auto-attached to the cart. |
Adding a customer at the counter does not block the sale — it’s a quality-of-life improvement that lets you track the purchase against a customer record (loyalty points, wallet, future refunds, B2B invoice).
VI. Save a draft (or send to WBS / warehouse pick)
Section titled “VI. Save a draft (or send to WBS / warehouse pick)”Three “park the cart” options live in the cart toolbar:
| Action | When to use | What happens |
|---|---|---|
| Save draft | Customer pauses, walks away, will come back. | Cart state (lines, qty, customer, discounts) persists under a named draft in POS Workspace’s draft tab. Re-open later from Draft orders panel. |
| Send to warehouse pick | Some items need to be picked from the back warehouse, not the front shelf. | Mark the order for warehouse pick — the warehouse team sees it in POS → Warehouse board (/point-of-sale/warehouse-board) and prepares the items before pickup. |
| Save as quotation (wholesale only) | Wholesale customer wants a quote before committing. | Generate a quotation document; the customer can approve later from Orders → Wholesale. |
Drafts are stored under a client-side identity (Code128 barcode) so the cart survives reloads, lane switches, and even brief offline windows. See POS Workspace tour → “Drafts” for the full persistence model.
VII. Take payment + print receipt
Section titled “VII. Take payment + print receipt”Click Checkout. A modal opens with:
- Total payable at the top (the cart total).
- A row of payment methods as chips — only the ones your store has configured in Settings → General → Payments appear.
- A cash key-pad (if
Cashis selected) for entering the amount tendered; the system auto-shows change due. - A split-tender mode if the customer pays partly by cash and partly by card.
| Method | Flow |
|---|---|
| Cash | Enter amount tendered → see change due → click Confirm. Receipt prints. |
| Card | The paired terminal (PAX / CodePay / Stripe) prompts the customer to tap / insert / swipe. The system polls the terminal status; on success, the receipt prints. |
| Wallet | Confirm the deduction from the customer’s wallet; receipt prints. |
| Other / Bank transfer | Manual entry; mark as paid when the transfer clears. |
The order is created with a Code128 barcode (the client’s client_order_id), not a numeric EAN-13 — the same barcode appears on the printed receipt and on the order detail page.
Order detail in the dashboard — the same order you just placed, with line items, payment method, totals, and timeline.
Full walkthrough: POS Workspace tour → “Checkout” / “Receipt”.
Shift report and work shifts
Section titled “Shift report and work shifts”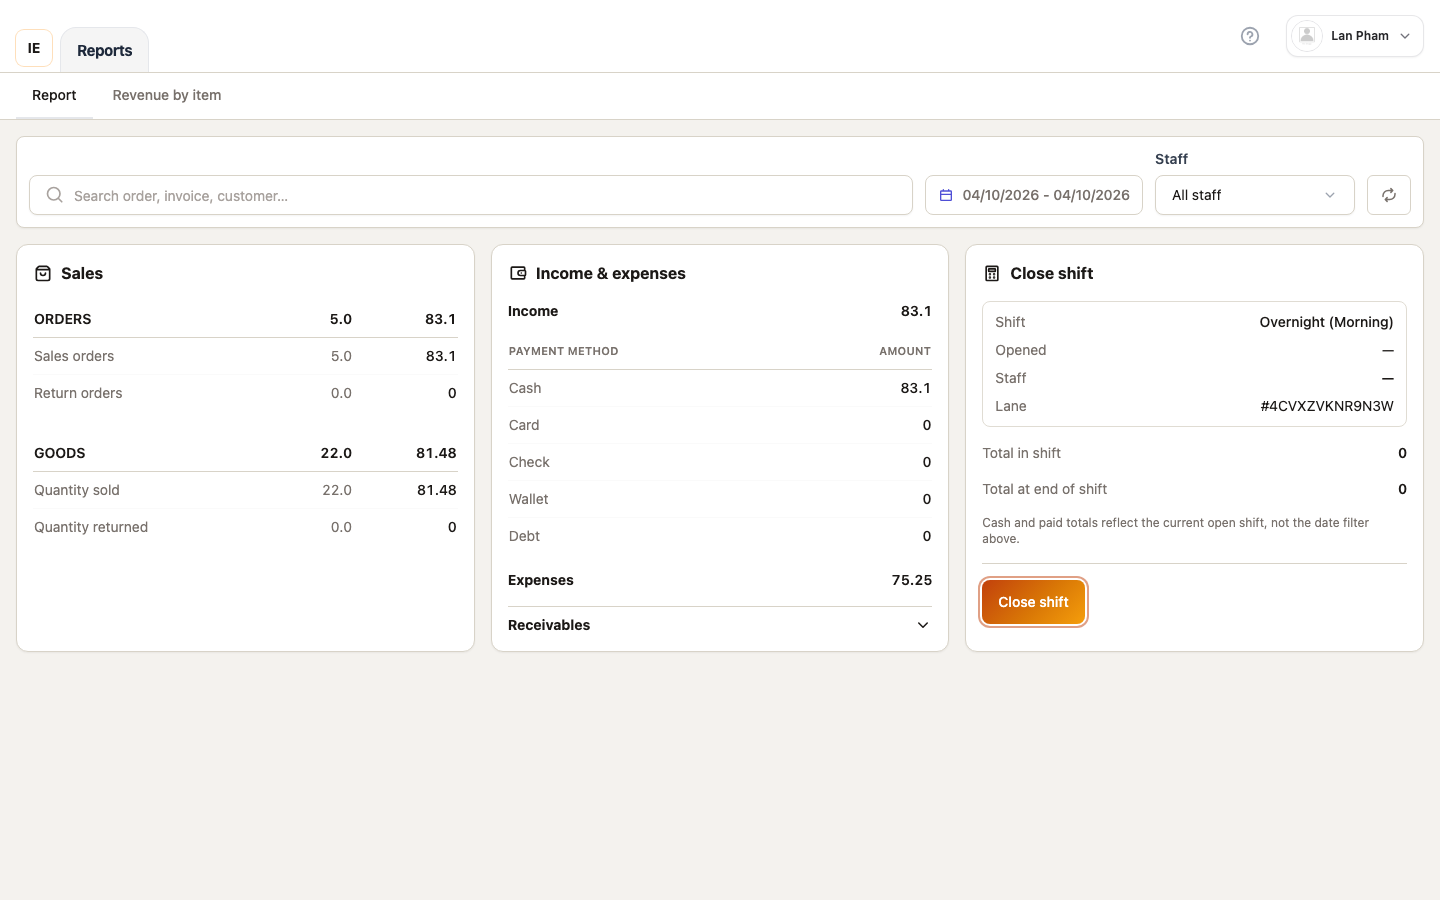 POS → Report — end-of-shift totals.
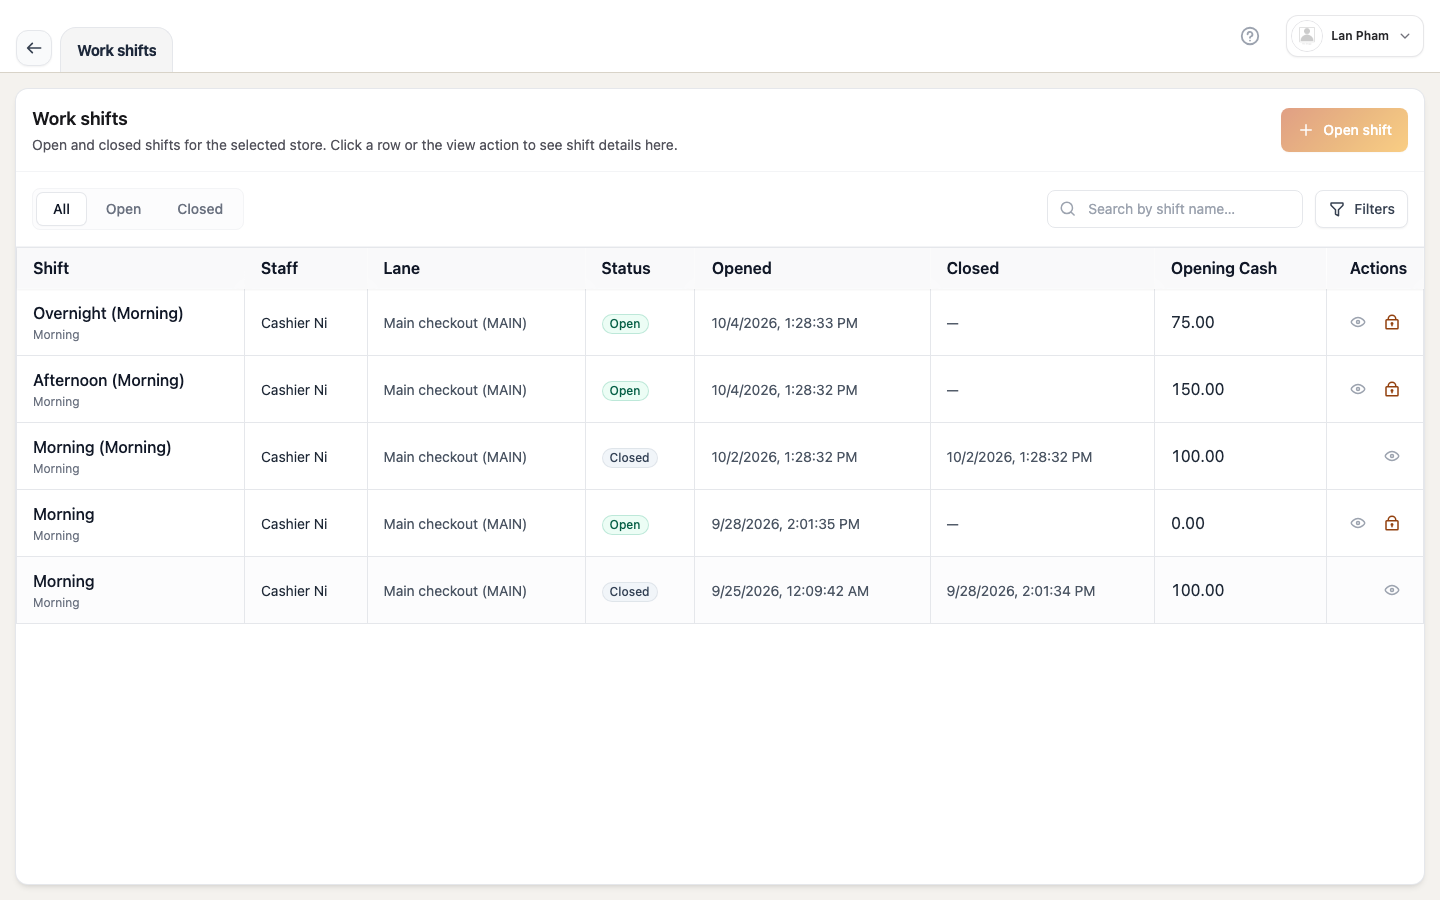 POS → Work shift — manage the current shift.
VIII. Shift report and work shifts
Section titled “VIII. Shift report and work shifts”- The receipt prints with the correct store name + address (see header at Settings → General).
- Real stock decreased by the sold qty.
- The order appears in Sales activity → Orders (
/dashboard/orders). - Shift summary updated (cash drawer + order count).
- For wholesale: the order appears in
/dashboard/orders/wholesaleAND the customer’s debt tile on the dashboard ticks up if payment was on-account.
X. If something goes wrong
Section titled “X. If something goes wrong”| Symptom | Where to look |
|---|---|
| Printer doesn’t print | Receipt printer + POS Bridge status |
| Card payment stuck “pending” | Card terminal — verify WebSocket |
| Stock didn’t decrease | Items → Track stock is off, or the Lot is still pending (not delivered) |
| Customer picklist shows nothing | The customer was filtered out by another store — open the customer in Customers → List and check the Stores column. |
| Wholesale form won’t accept the order | The customer hit their credit limit — check the warning banner; ask them to pay down existing debt, or switch to a smaller order. |
XI. Next step
Section titled “XI. Next step”→ Step 4 — Process a return: step 4.