Step 2 — Stock in (Lots)
I. Goal
Section titled “I. Goal”The real stock of every product is > 0, so the cashier doesn’t see “out of stock” at the counter.
II. What is a Lot?
Section titled “II. What is a Lot?”A Lot (in the system menu labelled “Purchases”) is a goods-receipt voucher — one delivery from a supplier on one date. Each Lot has:
| Field | Meaning |
|---|---|
| Supplier | Who sent the goods. |
| Warehouse | Where you store them (Main store / Back stock / Warehouse A). |
| Received date | Defaults to today. |
| Items + qty + unit cost | What you received and how much you paid per unit. |
| Status | pending → delivered → (optional) declined. |
A Lot adds to stock when it transitions to delivered. Stock stays put until you adjust (Step 4 covers the reverse — returning goods to a supplier).
Reference: Inventory → “Lots”.
III. Create your first Lot
Section titled “III. Create your first Lot”Open Inventory → Purchases (/dashboard/inventory/lots) → + New Lot.
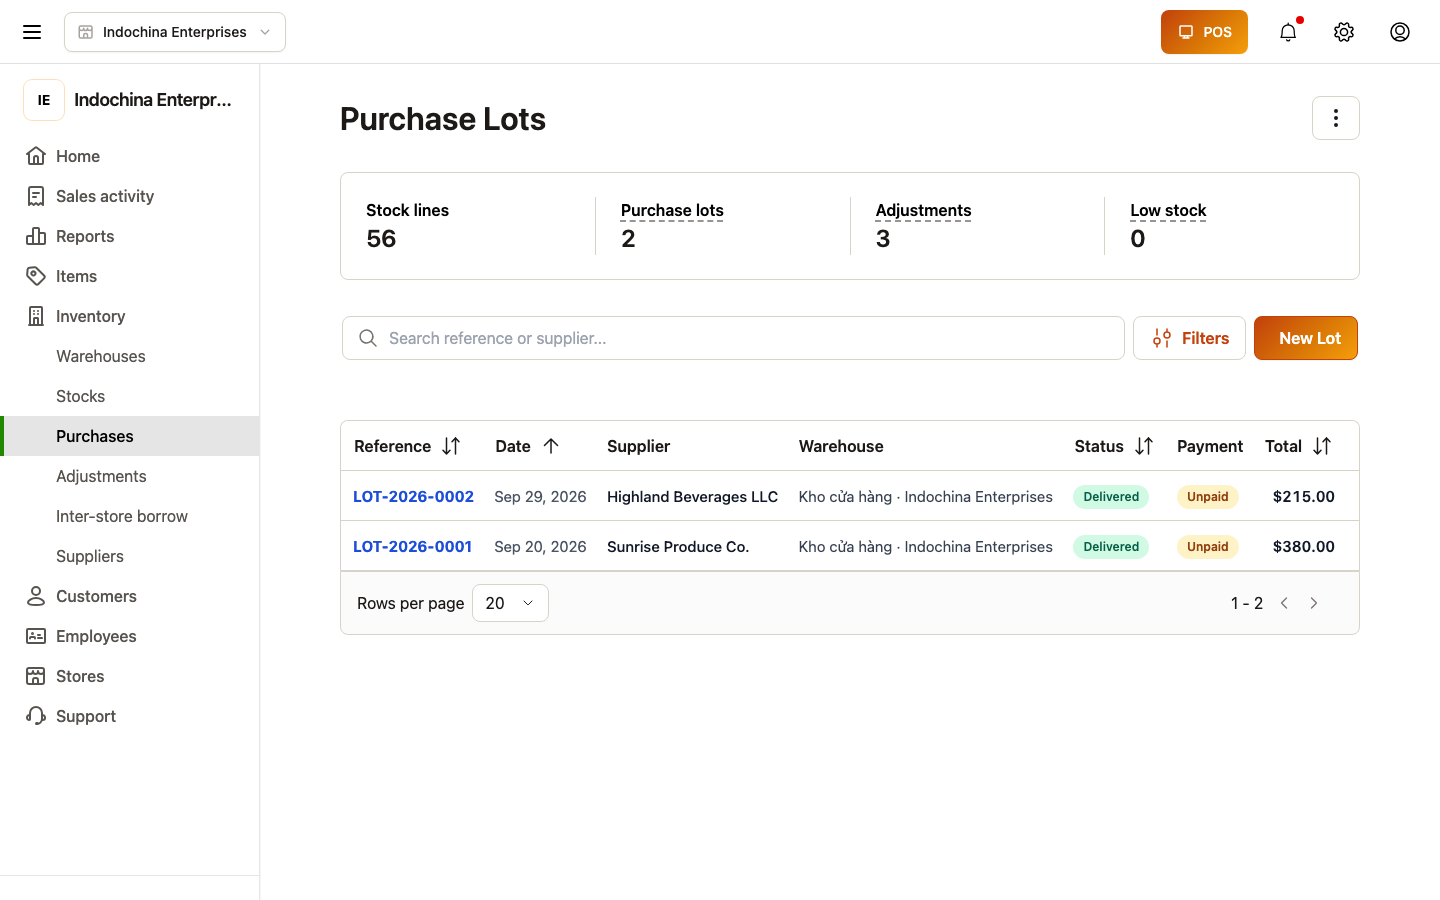
- Pick a Supplier (or create one — see Catalog & products → “Suppliers”).
- Pick a Warehouse (usually the default).
- Add items: search the catalog, enter qty + unit cost.
- Save — status =
pending. - Click Mark delivered when the goods physically arrive. Stock is added.
Cross-check the resulting stock
Section titled “Cross-check the resulting stock”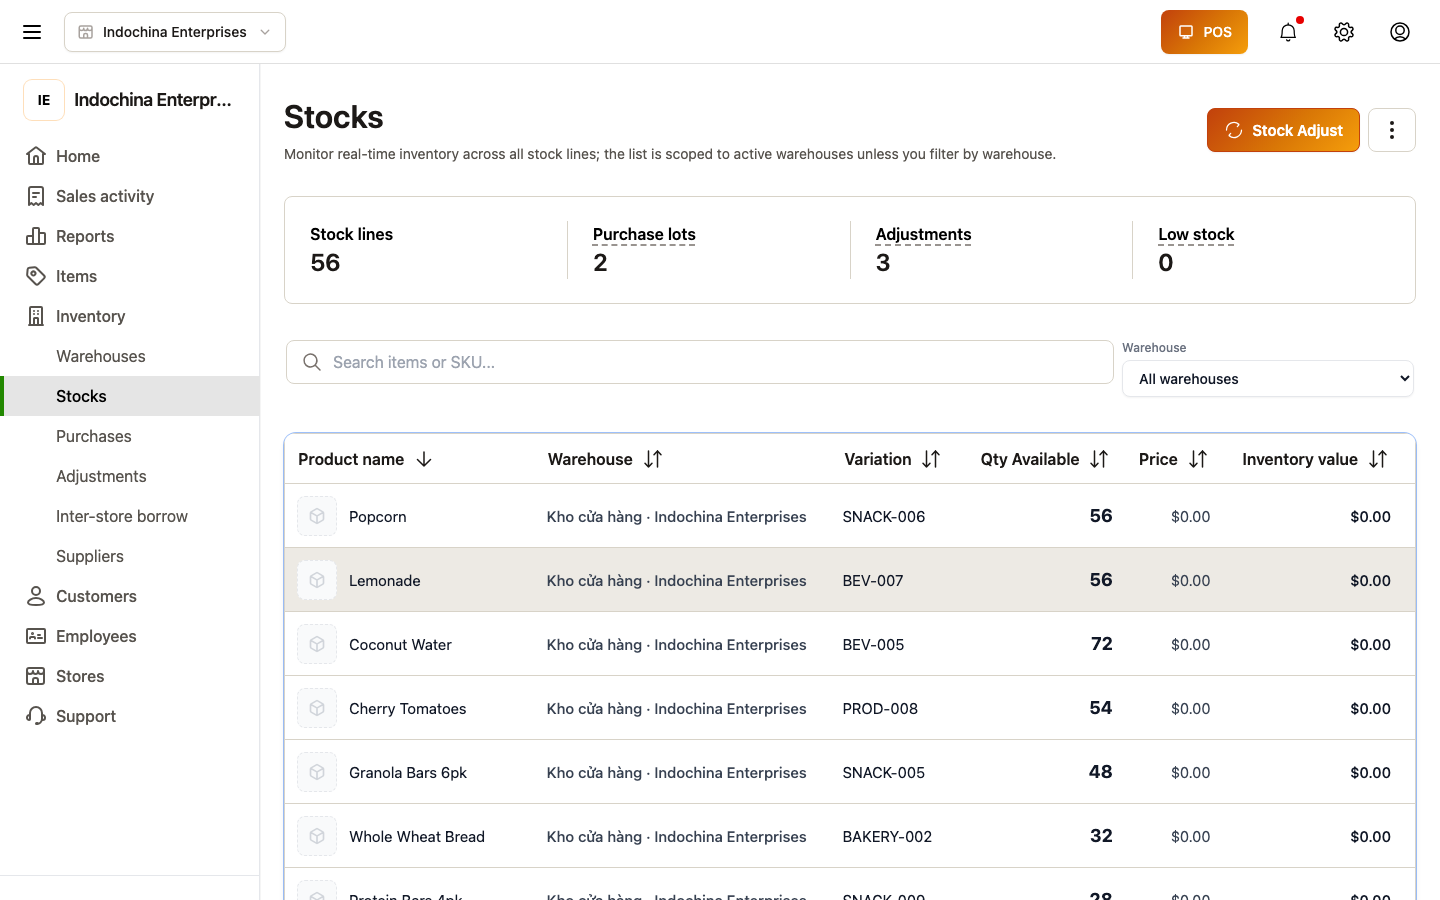 View the aggregated stock at Inventory → Stocks (
/dashboard/inventory/stocks).
Receive goods against a purchase order
Section titled “Receive goods against a purchase order” The Goods Receipt page — receive partial or full quantities against a PO.
IV. Common patterns
Section titled “IV. Common patterns”| Pattern | When to use |
|---|---|
| One Lot per delivery | Most stores. Use this as the default for everything. |
| One Lot per day | When many orders arrive on the same day from the same supplier. |
| Bulk import | When migrating from another POS — use POST /api/v1/vendor/stocks/import-excel (up to 200 rows). |
V. Checklist before moving on
Section titled “V. Checklist before moving on”- At least one Lot exists with status =
delivered. - The real stock of the product matches the qty you received.
- The unit cost field is filled (used for COGS in the finance reports).
- The supplier is correct — fixing it later will break that supplier’s purchasing reports.
VI. Next step
Section titled “VI. Next step”→ Step 3 — Take your first sale: step 3.
VII. Related articles
Section titled “VII. Related articles”- Inventory — details on Lots, Adjustments, Transfers.
- Catalog & products — how to create a supplier.
- API catalog — Vendor lots