First-Open Checklist
Overview
Section titled “Overview”Walk through this checklist on the Cashier lane PC before accepting real transactions on a freshly-installed Vendor Desktop.
Checklist
Section titled “Checklist”Complete the steps in order. Tick every item before going live.
1. Install and sign in
Section titled “1. Install and sign in”- Vendor Desktop installed and running on the Cashier Sign-in screen (Sign in & access).
- A working employee account (do not sign in to the lane with an owner dashboard account).
- Correct vendor / store (do not run demo accounts on production).
2. Choose store
Section titled “2. Choose store”- Store on the top bar matches the physical location.
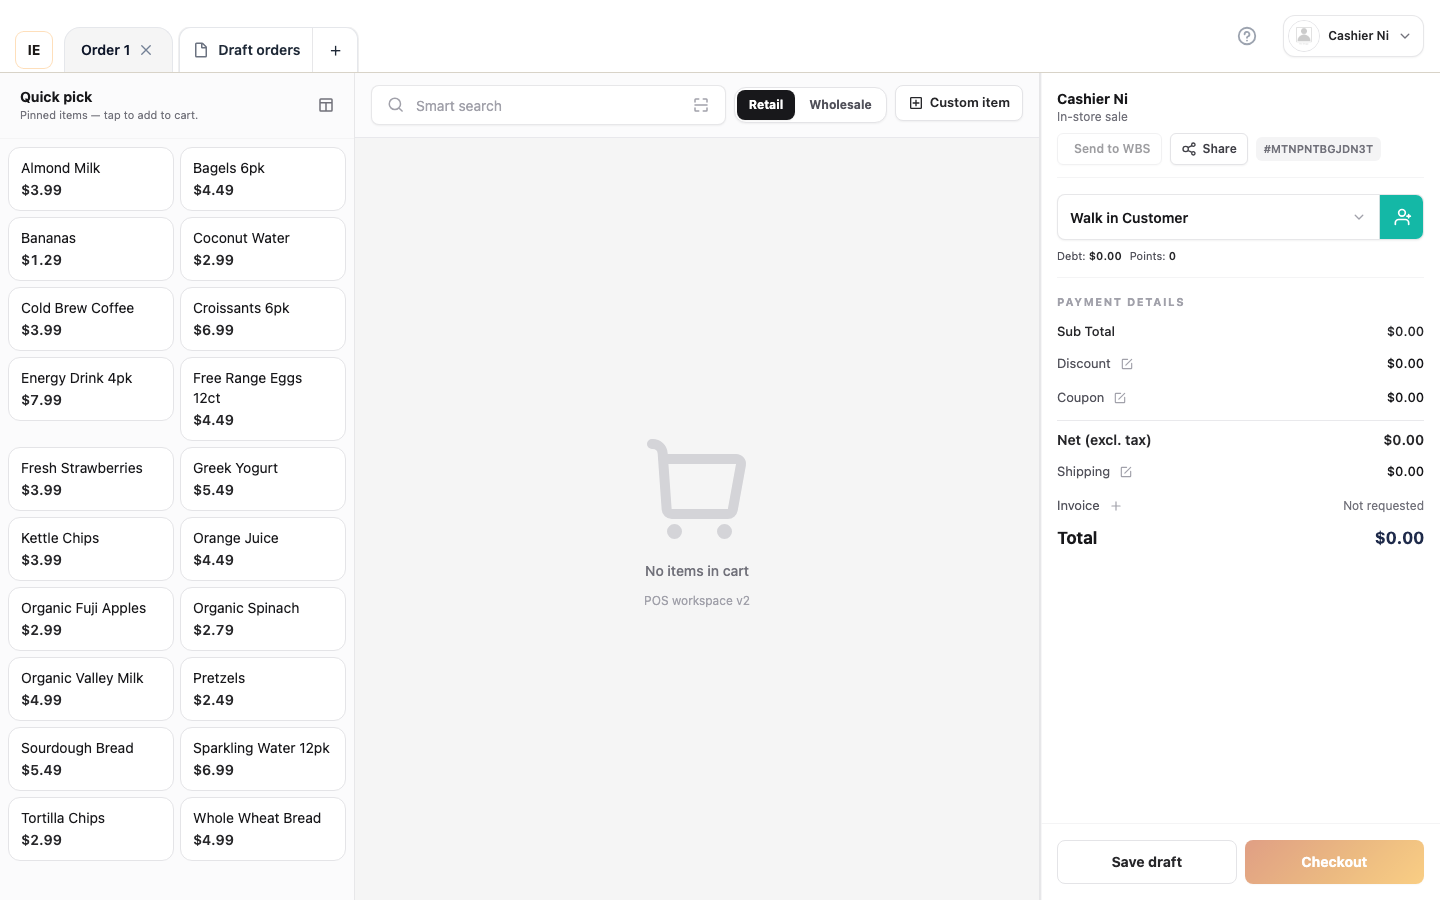
- Catalog loads (groups / items visible on the Sale screen).
3. Lane and POS (multi-lane stores)
Section titled “3. Lane and POS (multi-lane stores)”- If the store has multiple checkout lanes, select the right lane / register.
- No lane required banner is blocking checkout (Store, lane, and shift).
4. Open work shift
Section titled “4. Open work shift”- Work shift is open for this lane (opening cash recorded).
- See Close shift and Work shifts (Vendor).
5. Hardware (if used)
Section titled “5. Hardware (if used)”- Receipt printer configured (Receipt printer).
- Payment terminal paired (Terminal payment) — optional if cash-only.
6. Test sale
Section titled “6. Test sale”- Add a product from the catalog → pay Cash → order completes.
- Preview or print the receipt (if printer enabled).
- Order appears in Orders.
Expected result
Section titled “Expected result”One test order completes against the right store, lane and shift — ready to serve.
Common issues
Section titled “Common issues”| Symptom | Check |
|---|---|
| Empty catalog | Wrong store; product not active for the store |
| Cannot checkout | Lane not selected; shift not opened |
| Stock error on test | Quantity or store-level sale_allow_negative_stock setting |