Notifications, help, and settings
What you’ll find here
Section titled “What you’ll find here”Three things:
- Notifications — your inbox (system messages, customer events, store broadcasts).
- Help — static FAQ and quick guides for staff.
- Settings — store configuration and your account preferences.
Notifications inbox
Section titled “Notifications inbox”Open the bell icon (top right) or Sales activity → Notifications.
- Items with status = 1 show as unread (bold, colored dot).
- Broadcasts from the owner look slightly different — they only become “seen” for this device / session.
- Mark all read clears the visual badge.
- Click any item to open the related order / customer / store detail.
Use this rather than email for time-sensitive store events (low-stock, refund requested, etc.).
Preferences (what notifications you want)
Section titled “Preferences (what notifications you want)”Open Profile → Notifications.
- Email digest — get a daily / weekly summary.
- Push — order, refund, low stock events.
- Toggle each independently.
These are saved per-user. Owners can also set store-wide defaults in Settings → Notifications.
Open Help (top bar) for static FAQs:
- Cashier step-by-step.
- Common error messages.
- How to reset your password.
- How to reach support.
If your question isn’t there, raise a Support ticket — see Tickets.
Profile
Section titled “Profile”Click your avatar (top right) → Profile. Three tabs:
| Tab | What you can do |
|---|---|
| Profile | View email, role, store. Update name / phone. |
| Notifications | Toggle the email / push preferences described above. |
| Password | Change your password (enter current + new + confirm). |
If your current password is wrong, you’ll see a red banner — but you’ll stay signed in.
Settings
Section titled “Settings”Open Settings (top bar) to manage store configuration and devices. The settings area uses sections in a left rail (desktop) / horizontal tabs (mobile / small screens).
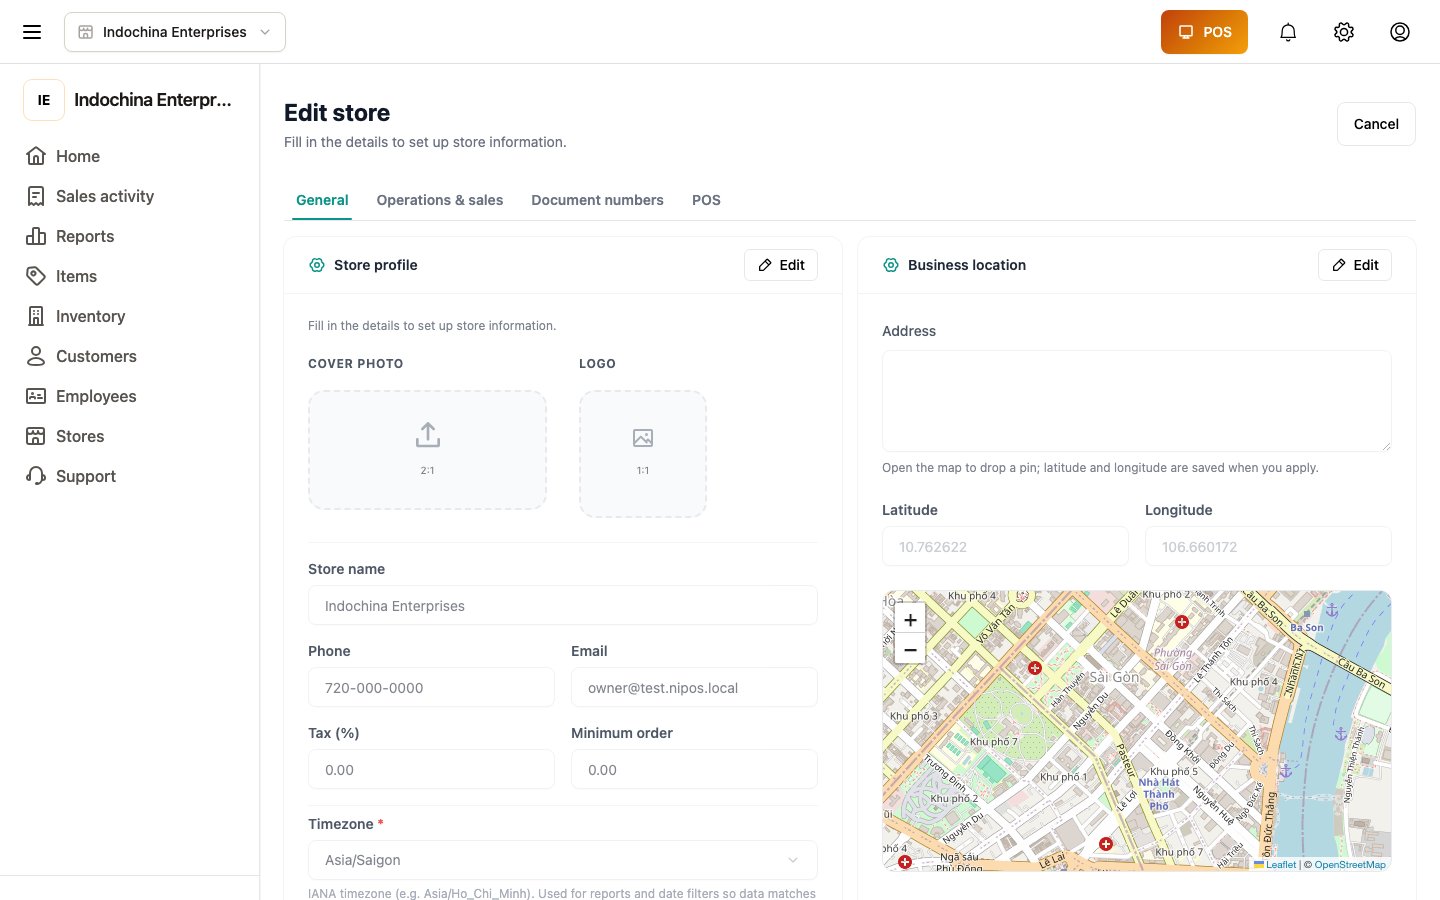
General
Section titled “General”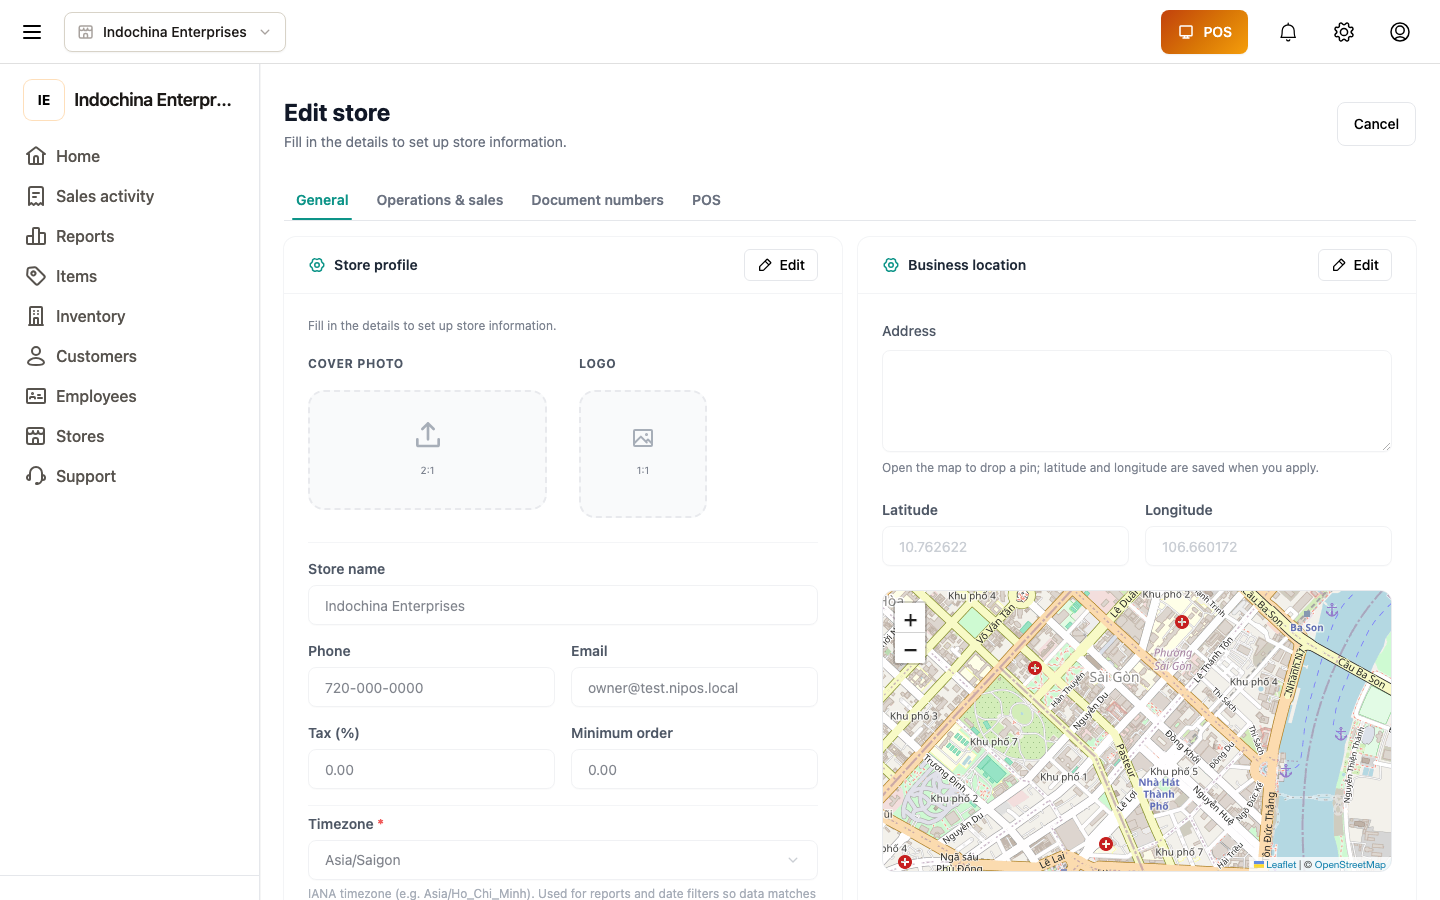
- Store name, address, phone, logo (on receipts).
- Business hours, currency, time zone (affects orders and reports).
- Default language for receipts.
Devices
Section titled “Devices”This is where you pair hardware:
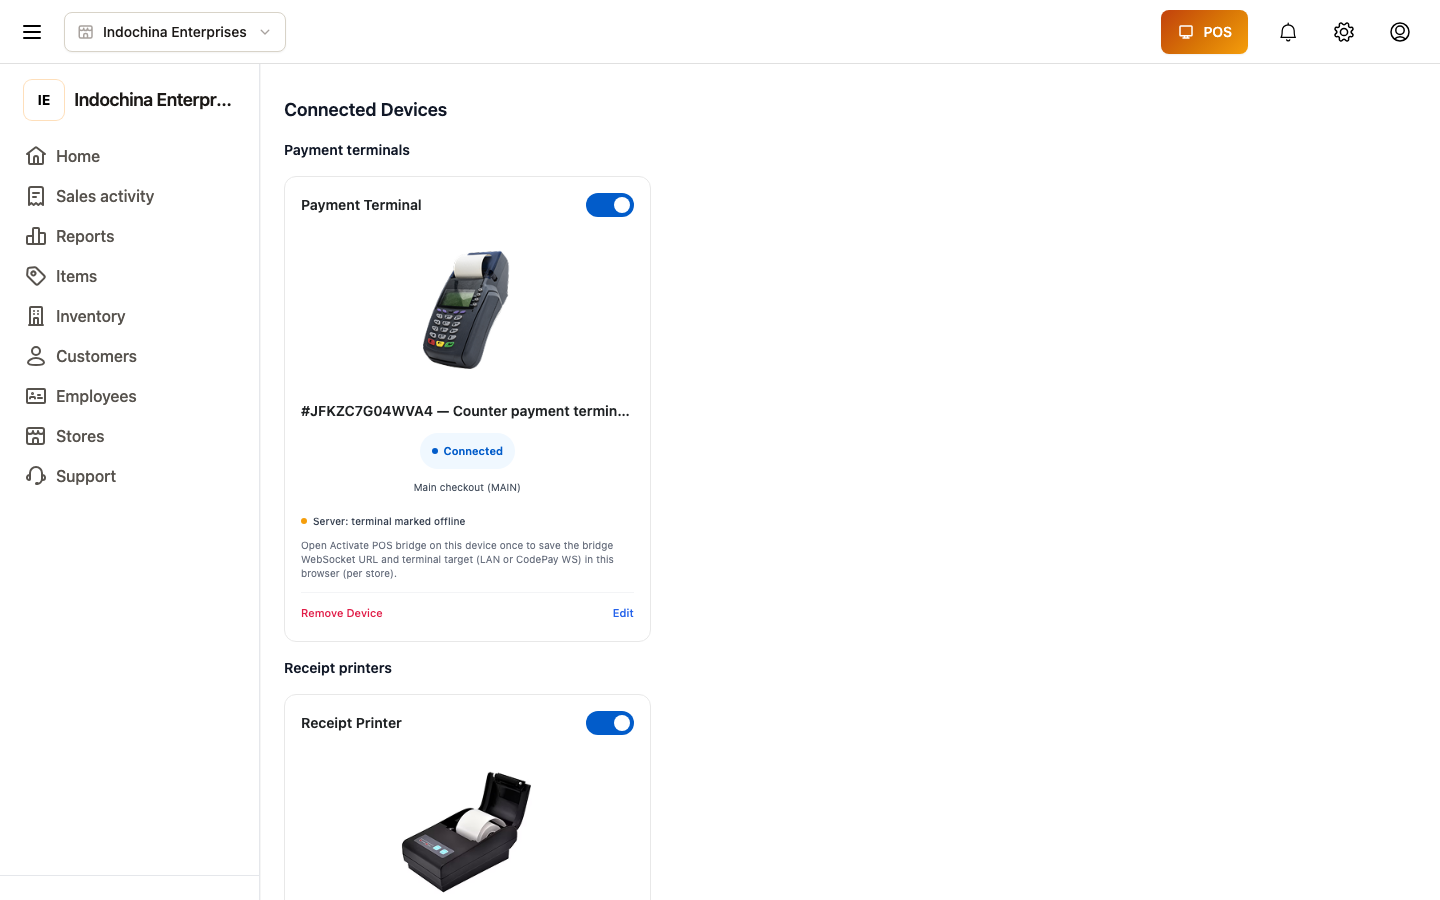
- Receipt printer — auto-detected or paired manually.
- Label printer — for barcode labels.
- Cash drawer — opens with the printer.
- Card terminal — pairs your payment terminal; choose the simulator for training.
- Customer display — secondary screen that shows totals.
- Scale — for weighed items, paired via USB / serial.
Each device card has a quick Test button and a recent activity log (last connect, errors).
POS bridge / lab
Section titled “POS bridge / lab”Pair the POS bridge that talks to your lane PC / desktop:
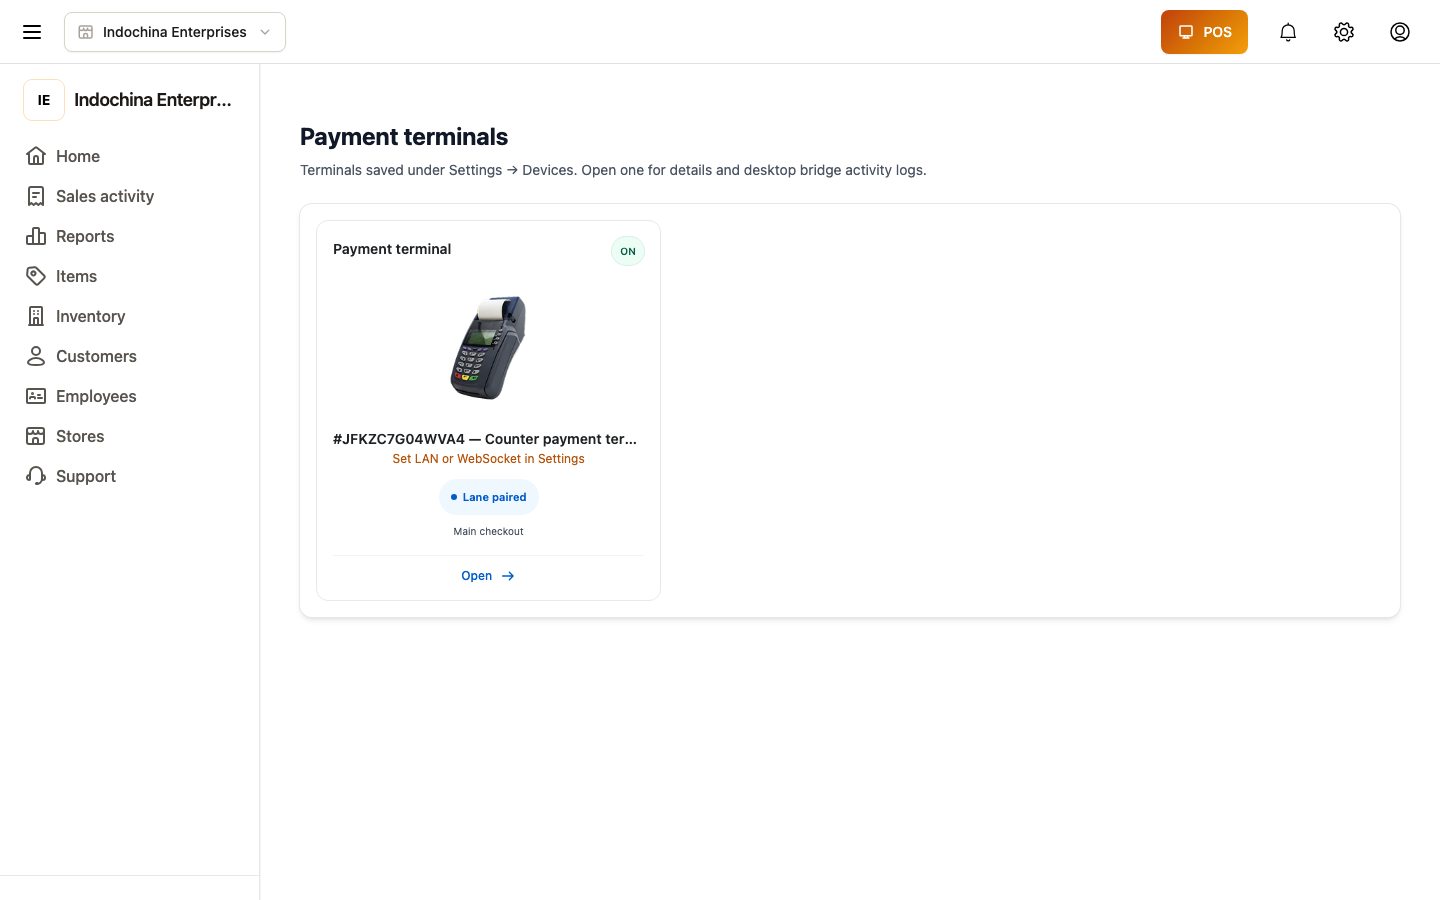
- Bridge URL is the same as the browser uses.
- Heartbeat shows green when reachable.
For deeper setup, see Devices → Terminals (when enabled at your store).
Notifications (store-wide)
Section titled “Notifications (store-wide)”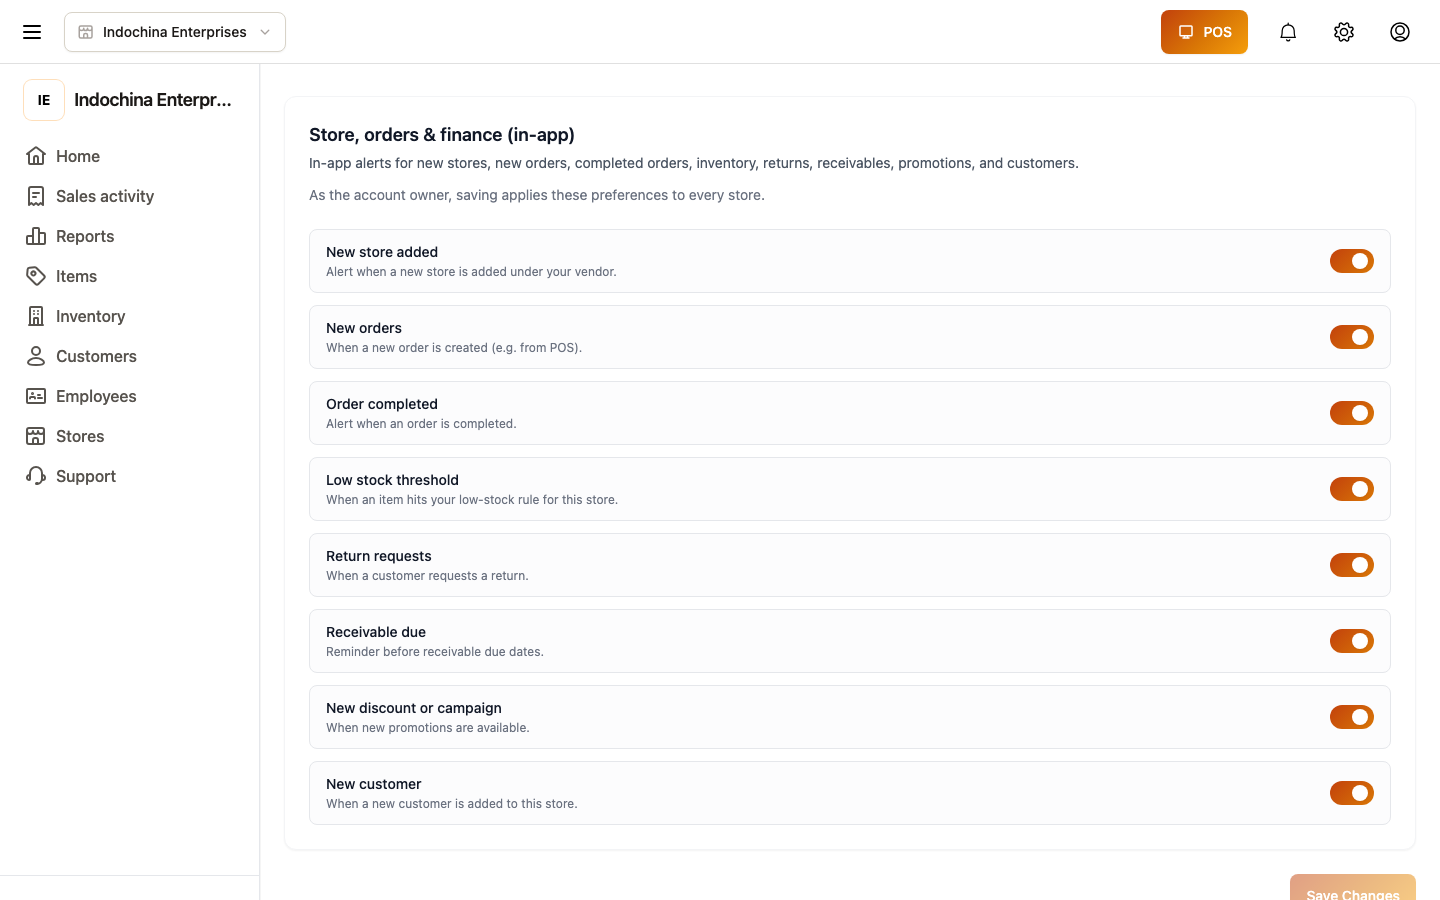
Owners can set defaults that flow to every employee until they save their own preferences. Useful when you want a team-wide rule (e.g. “everyone gets refund-pending”).
Documents
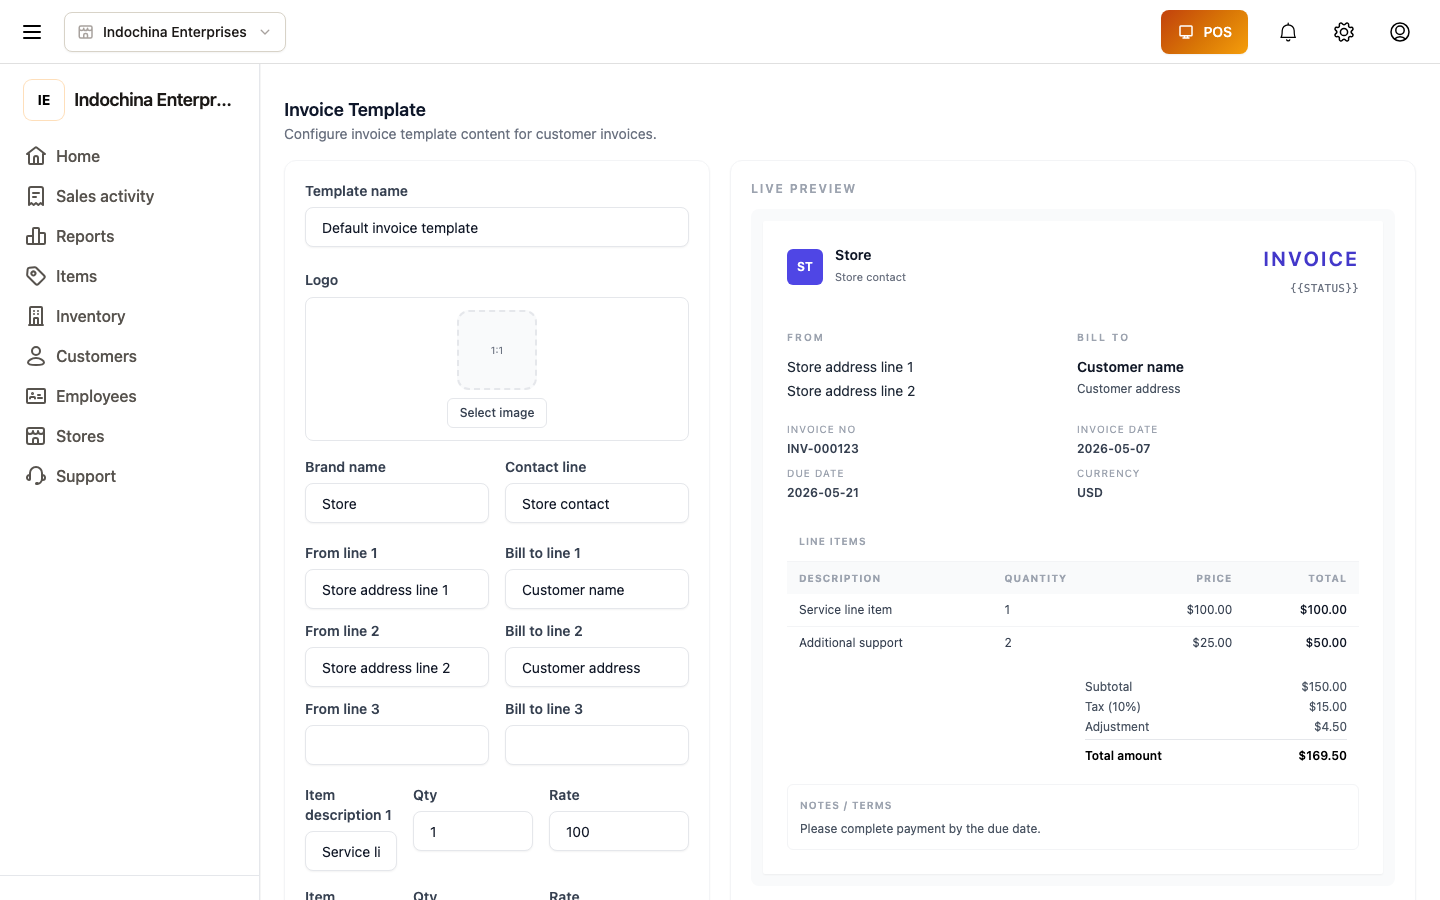
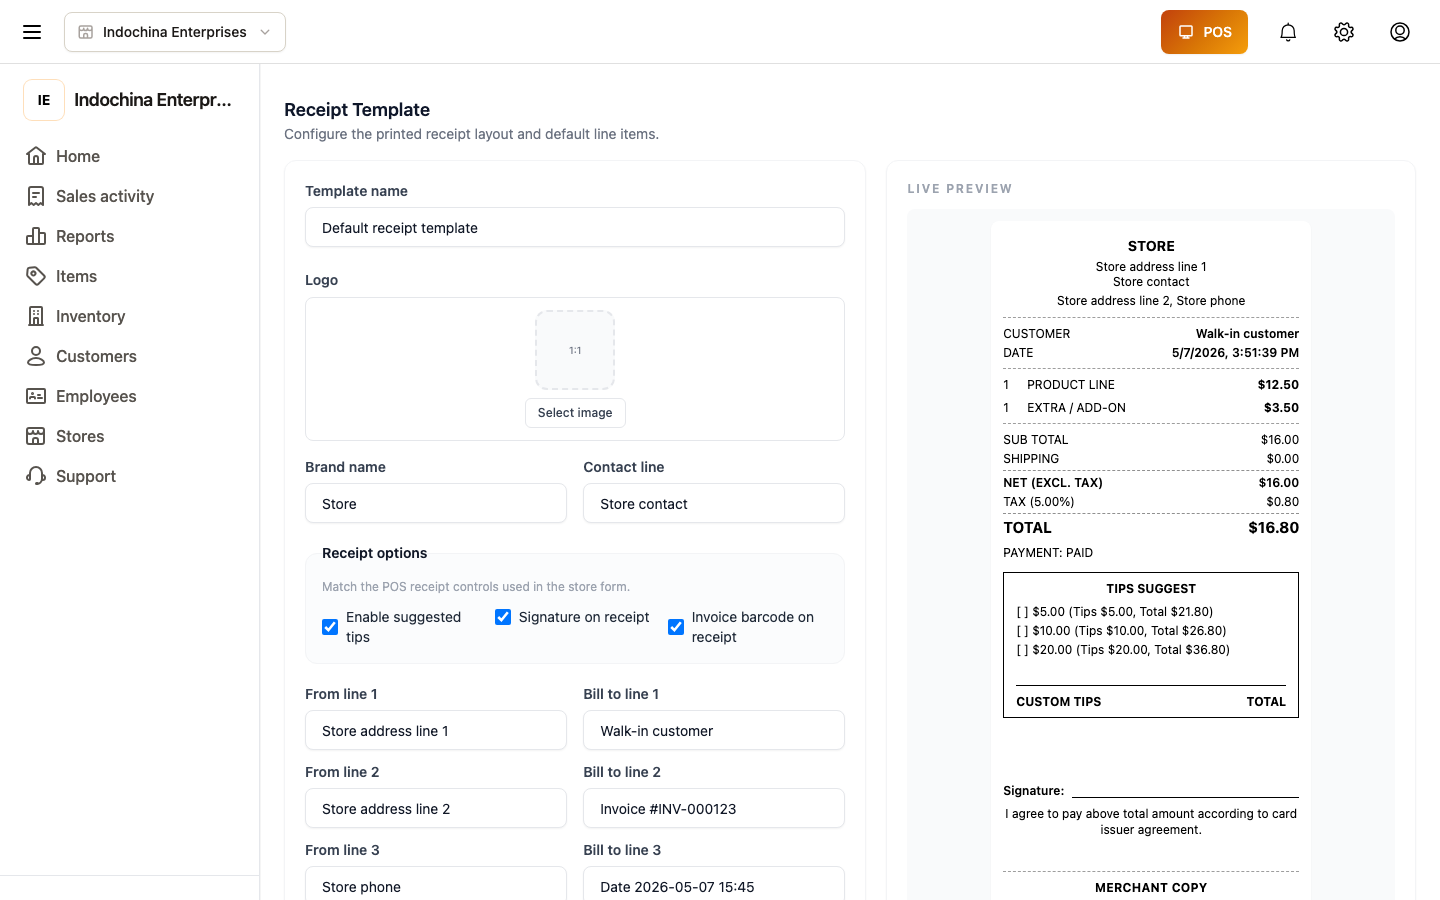
Section titled “Documents”Invoice and receipt templates:
SMTP / outbound email
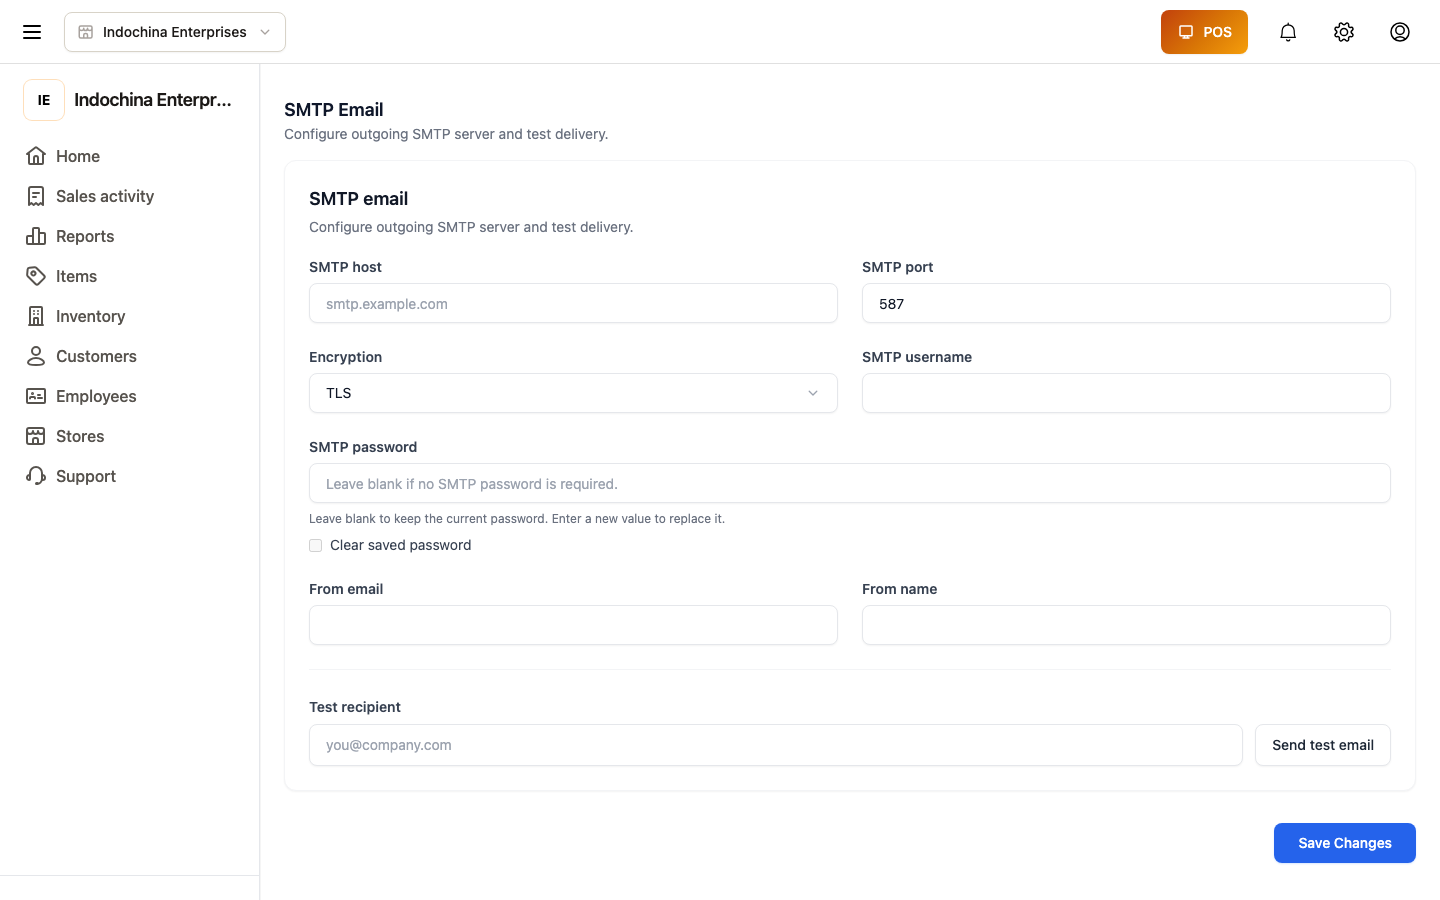
Section titled “SMTP / outbound email”If your store sends transactional email (password reset, receipts), configure the SMTP credentials here:
Quick links to Employees and Roles (roles for owners).
Shift templates
Section titled “Shift templates”Owners can pre-build shift templates (Morning, Afternoon, …) and assign employees to them. Templates appear when opening a shift. See Work shifts.
Checkout lanes
Section titled “Checkout lanes”Owners define lanes / registers. Each lane becomes a chooser when opening a work shift. See Work shifts.
Common questions
Section titled “Common questions”Settings link missing. You don’t have the settings module. Ask your owner to grant it (or use admin-only).
Time zone changed — old orders look different. Historical orders are stamped with the time zone they were created in. Pick the correct zone before opening the store; don’t change it later.
Card terminal not connecting. Check the bridge URL in POS bridge and that the device is online. Use Test to send a tiny ping.
Receipt printer offline. Re-pair from Devices → Receipt printer → Add. Receipts silently queue while offline.
Related
Section titled “Related”- Sign-in & account — sign-in flow & password reset.
- Employees and stores — store basics.
- Work shifts — shift templates & lanes.
- Tickets — when help doesn’t answer your question.